Hey there, juice enthusiasts! Today, we're diving into the vibrant world of plums with a super refreshing plum juice recipe. Not only will this juice tantalize your taste buds, but it's also packed with health benefits that we can't wait to spill—using both blender and juicer methods!
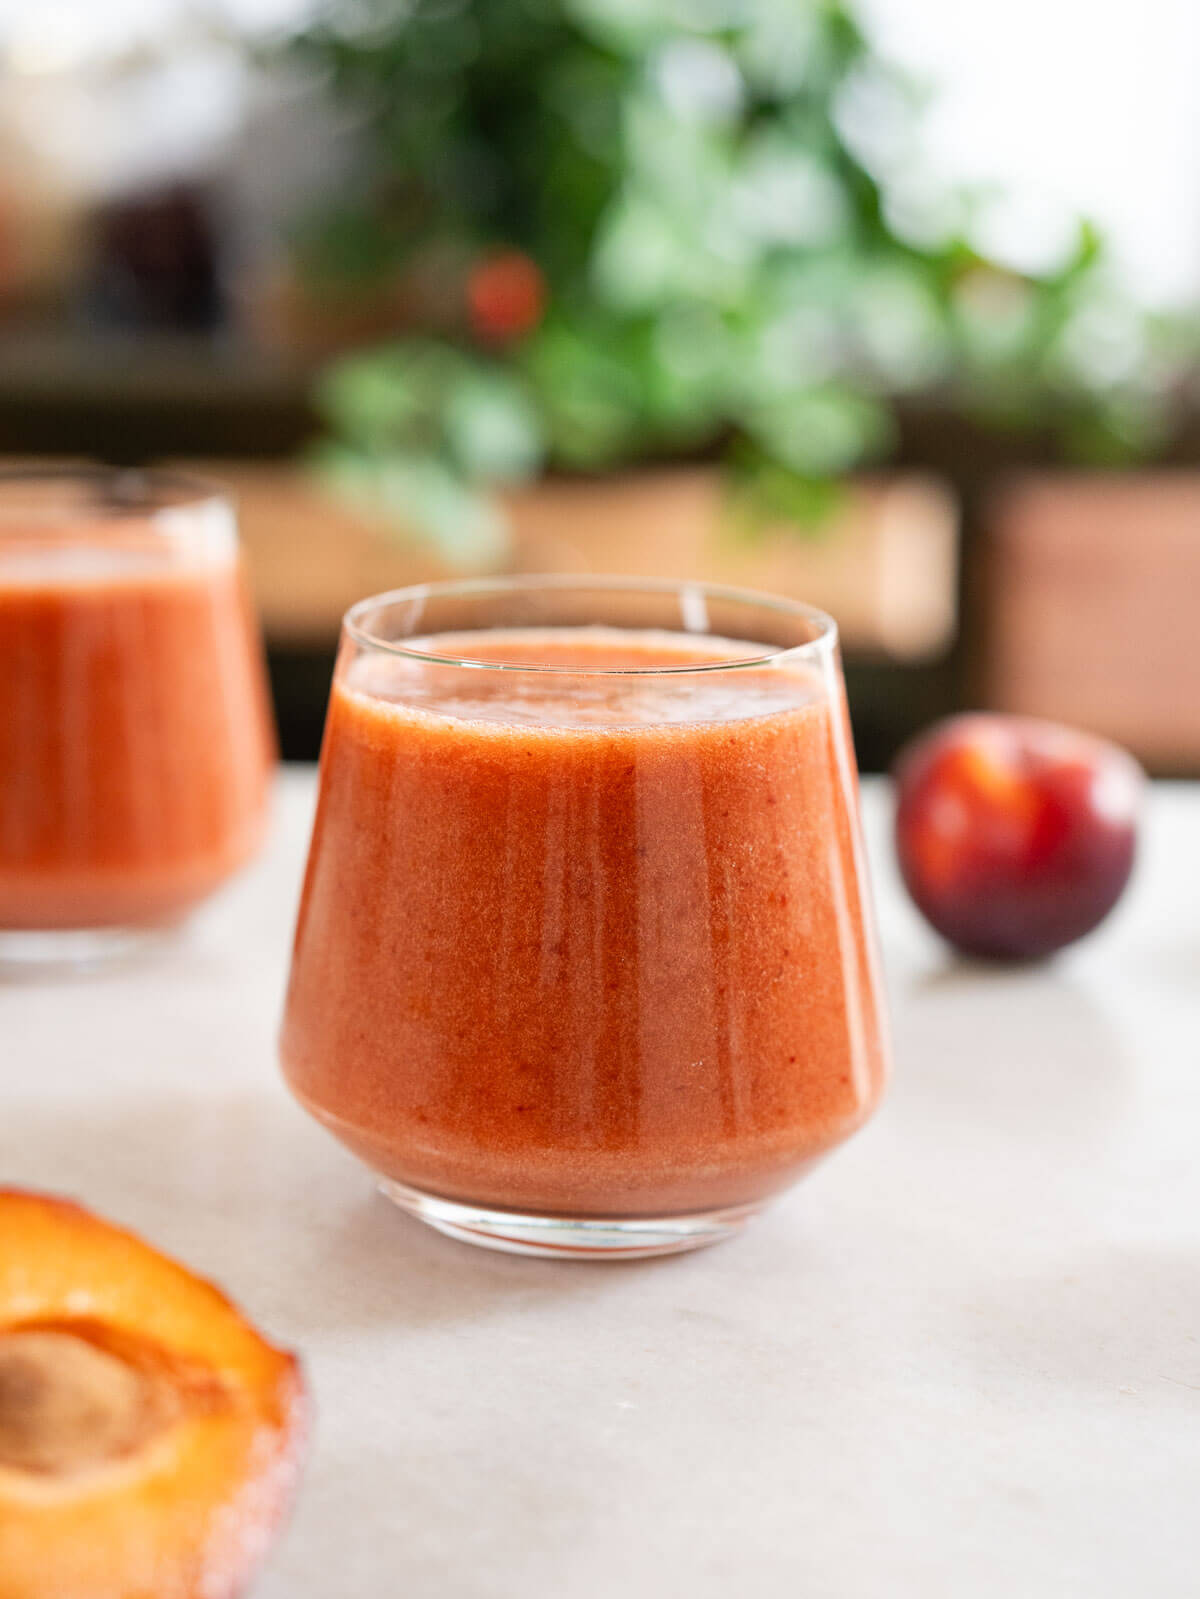
Listen up, folks—this plum juice recipe is a total game-changer. Why? Well, for starters, it's a nutritional powerhouse. We're talking about a drink that's rich in vitamin C, dietary fiber, and antioxidants. And let's not forget the immune-boosting properties of lemon juice and the anti-inflammatory benefits of ginger. This isn't just a tasty beverage; it's a health elixir that your body will thank you for!
But wait, there's more! We know you're busy, and the last thing you need is a complicated recipe. That's why we've made this as easy as 1-2-3. Whether you've got a blender or a juicer, we've got you covered with simple steps that anyone can follow. So, not only are you getting a drink that's good for you, but you're also saving time and effort. It's a win-win situation if you ask us!
And hey, we're not stopping at just the juice recipe. Stick around because we're diving deep into the incredible health benefits of plum juice. Think bone health, heart wellness, and even some surprising facts about how it can support healthy red blood cells. Trust us, by the end of this post, you'll be rushing to add plums to your grocery list!
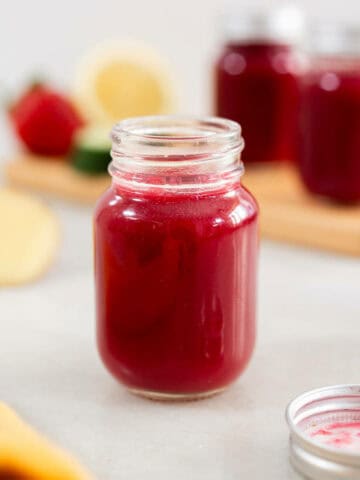
This recipe takes cues from our strawberry and pomegranate juice methods, which you've gotta check out!
Jump to:
❤️ Why you will love it
- Refreshing Flavor
- Nutrient-Packed
- Digestive Benefits
- Versatile Use
- Natural Sweetness
🧾 Ingredients
This plum drink is made with just a few delicious ingredients:
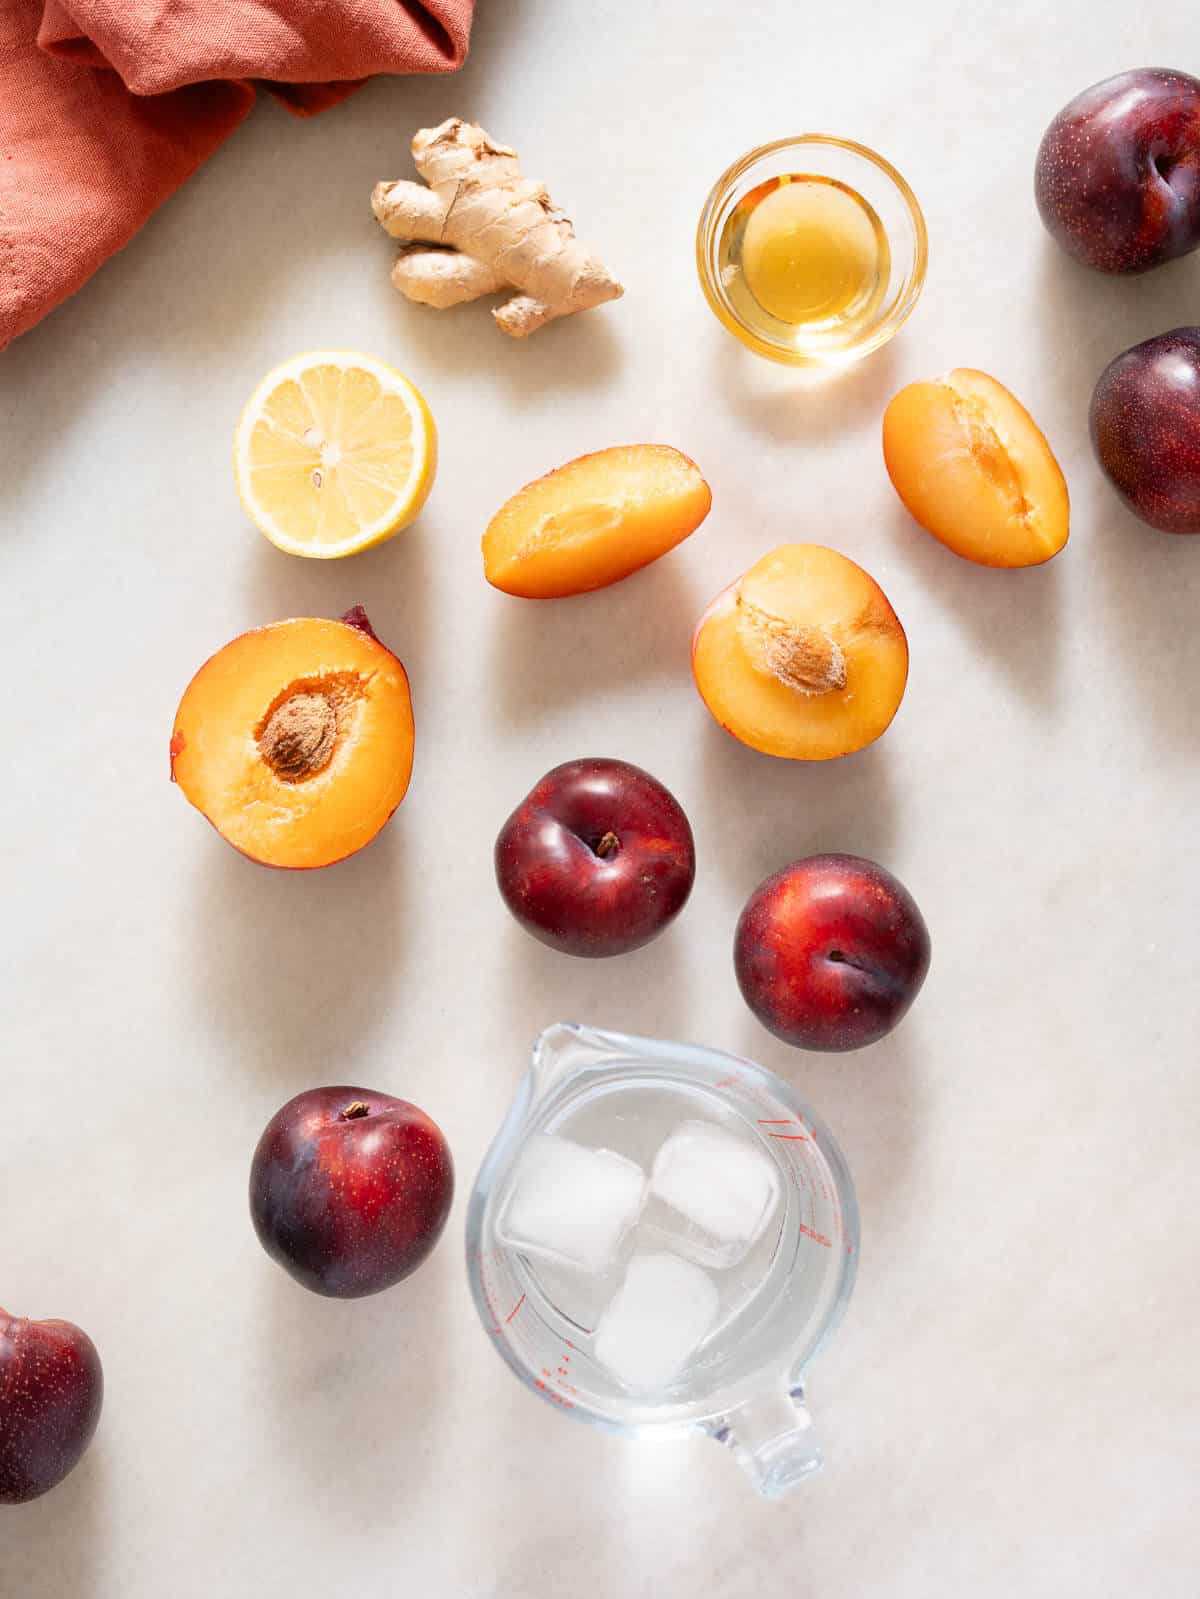
- Ripe Plums: The star of the show, ripe plums bring natural sweetness and a vibrant color to the juice. Plus, they're packed with vitamin C, boosting your immune system.
- Lemon Juice: A splash of lemon juice adds a zesty kick and helps preserve the vibrant color of the plum juice. It's also a vitamin C powerhouse, doubling down on immune support.
- Fresh Ginger: This root adds a spicy undertone that complements the sweetness of the plums. Ginger is also known for its digestive benefits and anti-inflammatory properties.
- Iced Water: Using iced water ensures your plum juice is refreshingly cold right off the bat. It also helps dilute the juice to your preferred consistency without compromising flavor.
Agave Nectar or Maple Syrup: These natural sweeteners are optional but can elevate the sweetness of your plum juice if your plums are a bit tart. Both options are vegan-friendly and come with their own set of health benefits—agave is low on the glycemic index, while maple syrup contains antioxidants.
See the recipe card for quantities.
Substitutions
- Red Plums: Use yellow plums instead for a slightly different flavor profile but similar health benefits.
- Lemon: Swap it out for lime if you're looking for a different kind of citrusy kick. Pineapple also works well.
- Ginger: If you're not a fan of ginger or don't have it on hand, you can use a pinch of ground turmeric or even a small piece of fresh turmeric root for its anti-inflammatory properties. Another option is a few leaves of fresh mint for a refreshing twist.
🍽 Equipment
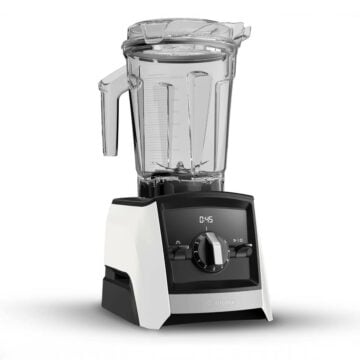
- Blender or cold press juicer.
- Bowl
- Mesh strainer or cheesecloth (optional)
🔪 Instructions
This natural laxative drink involves simple steps.
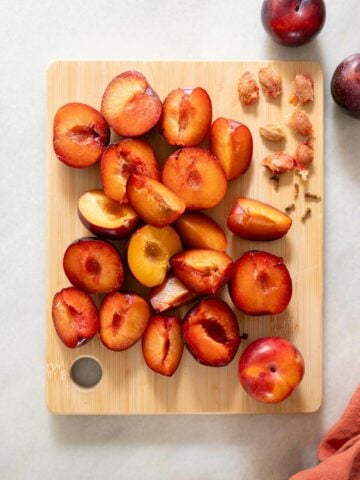
Step 1: Remove the pits from the plums and chop them.
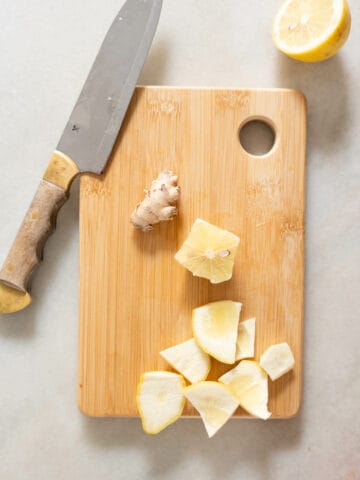
Step 2: Peel the lemon and dice up the ginger root.
Blender method
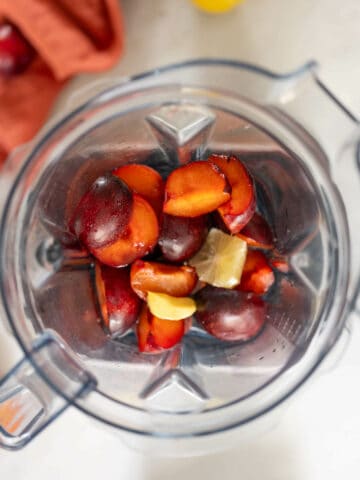
Step 3: Toss the prepped items into your blender.
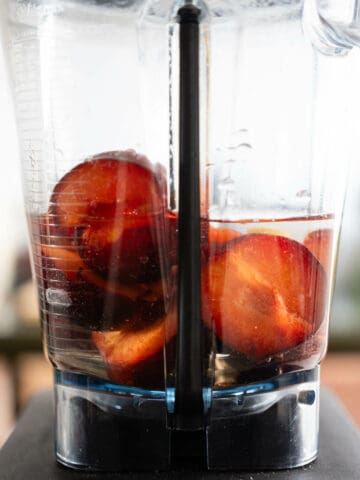
Step 4: Pour iced water into the blender. Or water with extra ice cubes.
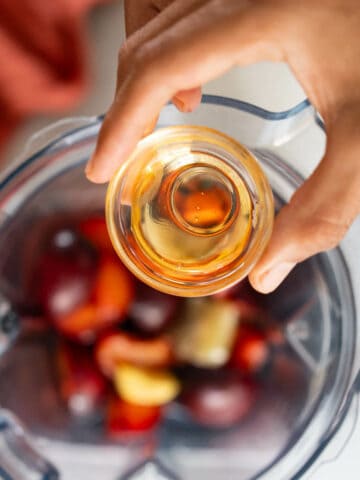
Step 5: Feel free to sweeten the juice with either agave nectar or maple syrup.
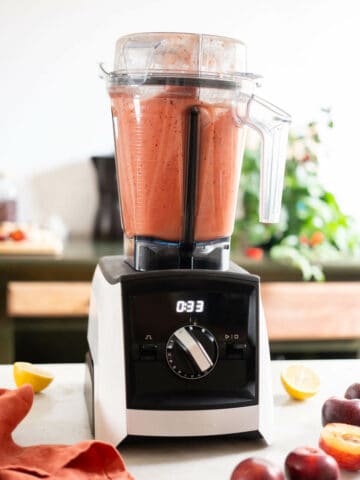
Step 6: Whirl the blender for a solid 40 seconds.
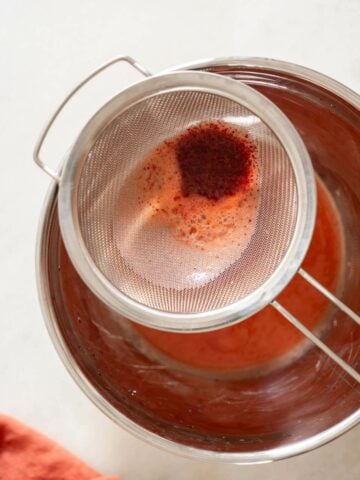
Step 7 (Optional): Strain the juice for a thinner version. It is not recommended.
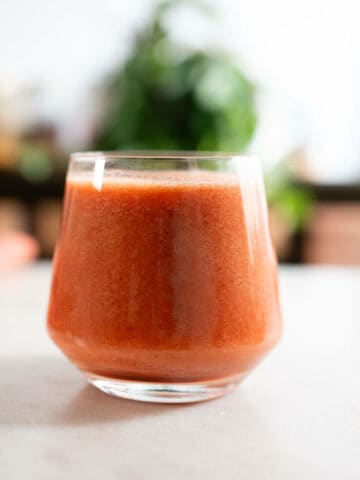
Step 8: Serve chilled!
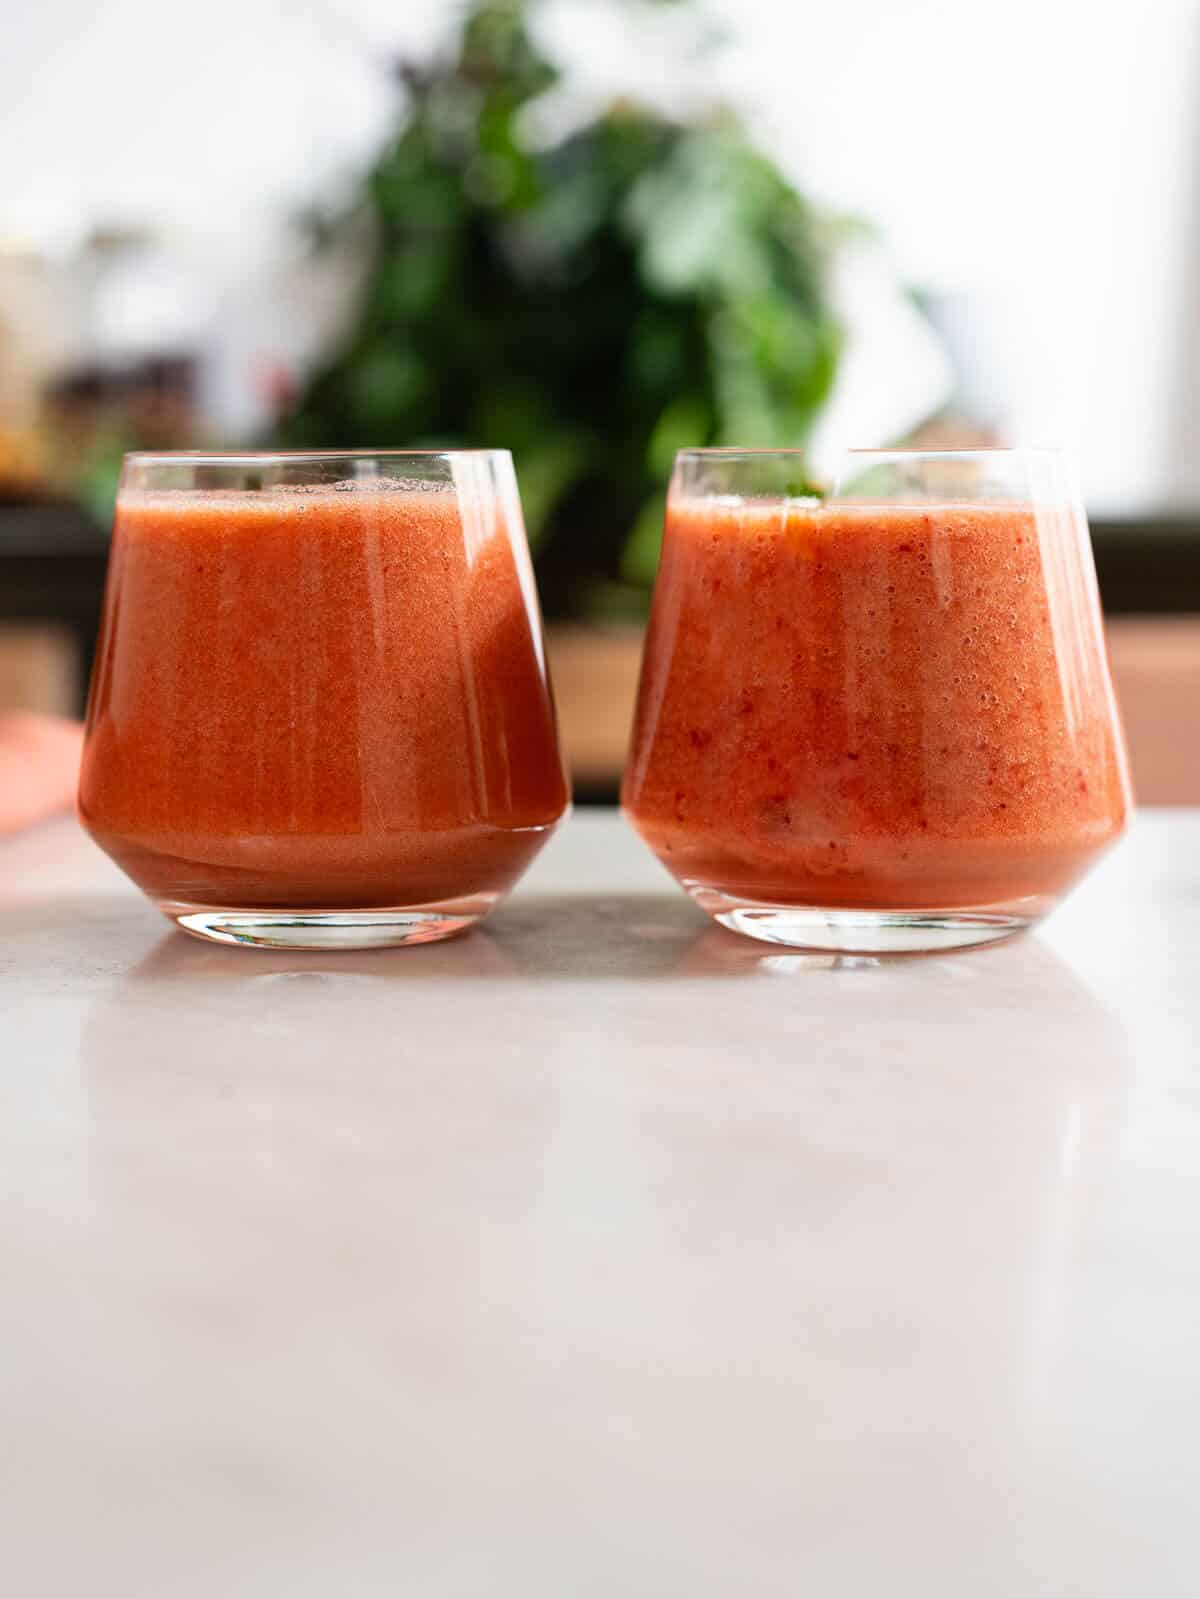
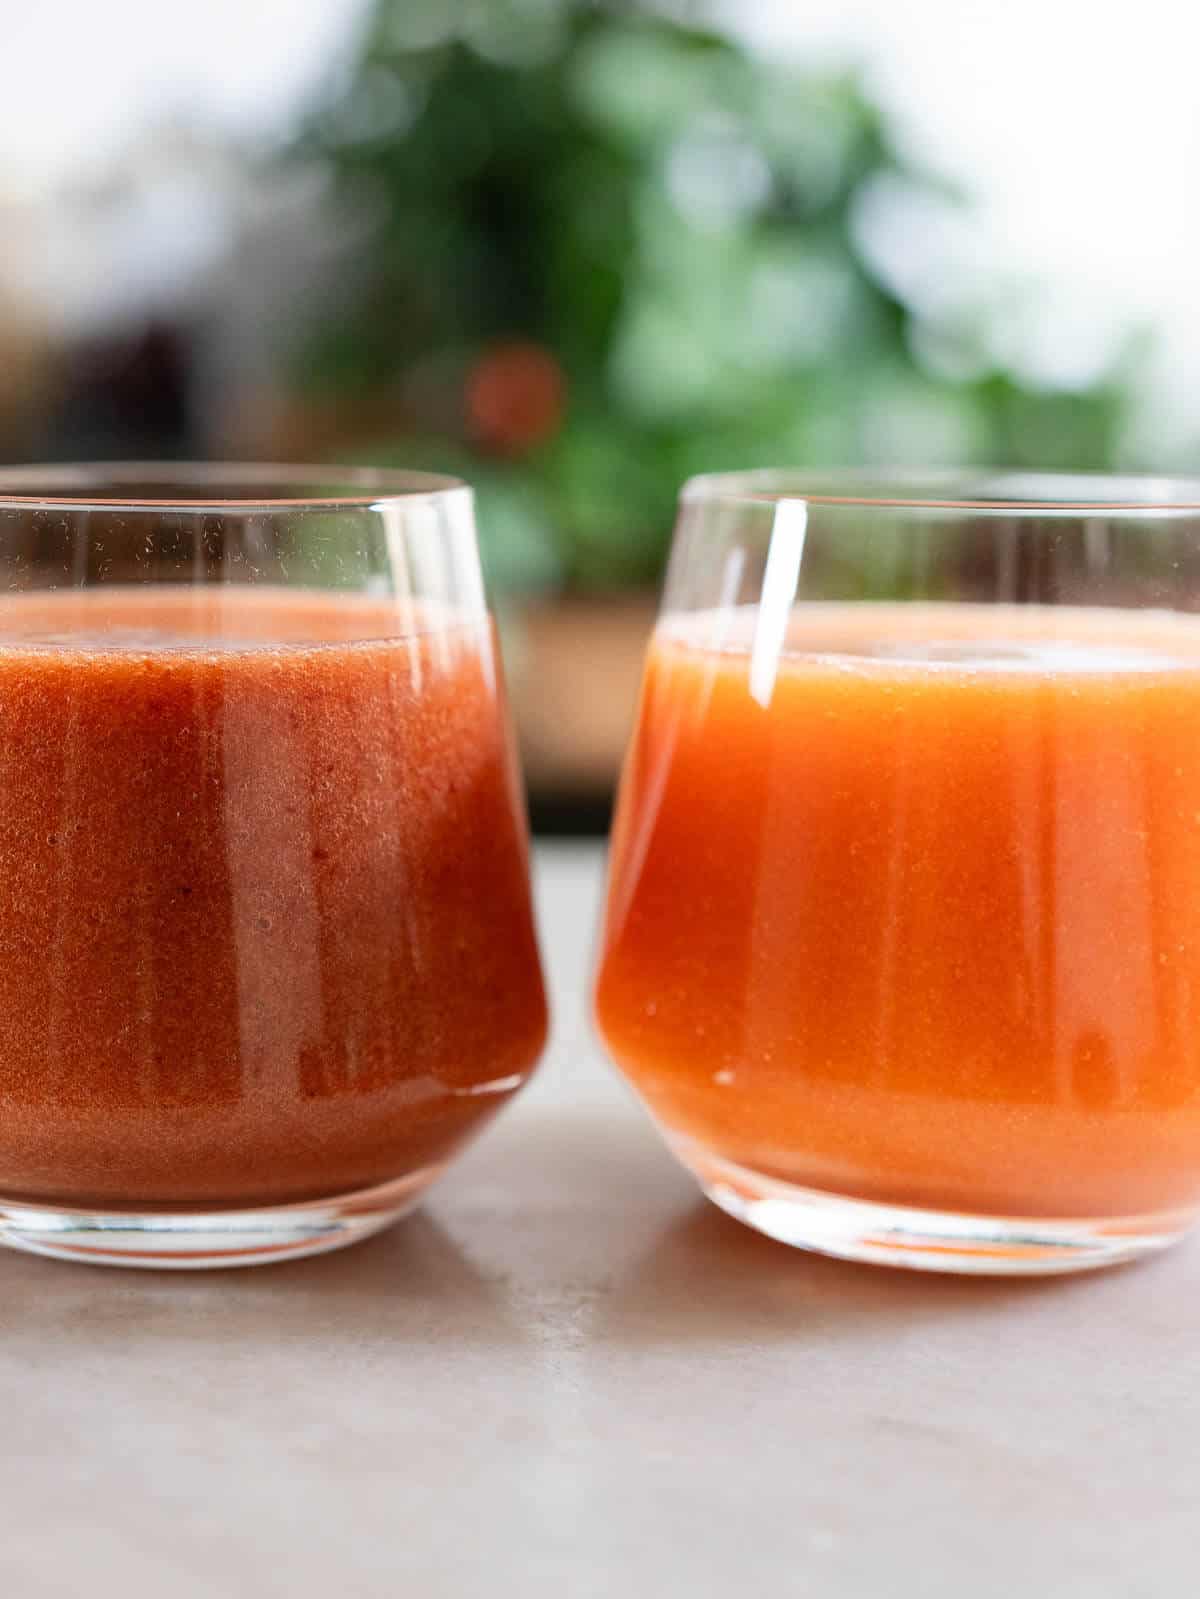
Comparison between strained / unstrained plum juice
Juicer Method
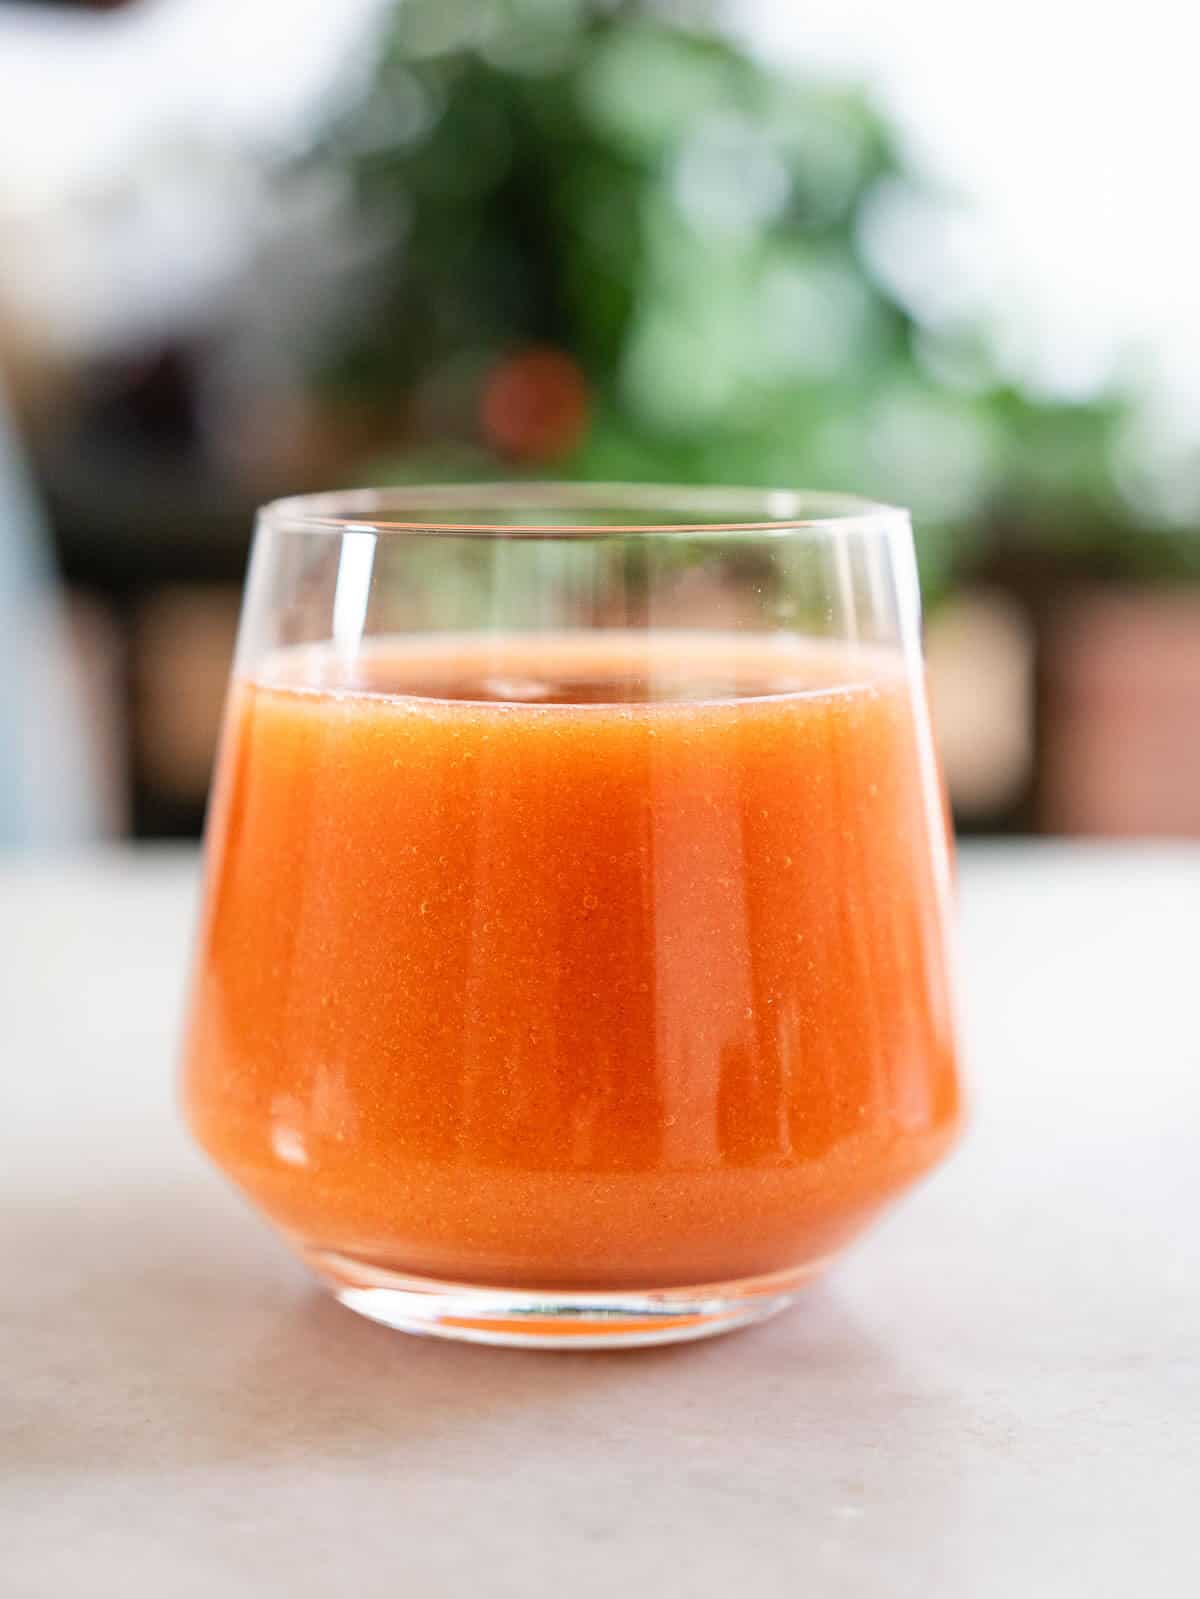
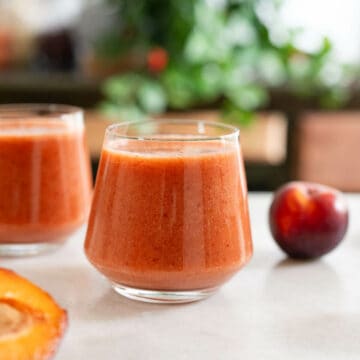
Just toss your pitted and chopped ingredients into the juicer and let it do its thing. You'll notice the juice takes on a more orange hue because the juicer tends to remove most of the plum's dark skin, altering the color a bit.

If you opt for the juicer approach, tossing out the pulp is unnecessary. Instead, let's explore some awesome ways to put that pulp to good use!
Leftover plum pulp uses
Got some leftover pulp after juicing? Don't toss it! Let's get creative and make the most out of those nutritious scraps. Here are a couple of cool ideas:
- Pulp-Packed Smoothies: Amp up your morning smoothie game by throwing in some of that leftover pulp. It's a great way to add extra fiber and nutrients. Pair your favorite fruits with the pulp, toss in some plant milk or water, and blend away for a deliciously textured treat.
- Wholesome Baked Goods: Give your muffins, cookies, and bread a wholesome twist by folding in some pulp. It's a sneaky way to add moisture and nutrients without compromising on taste. Just adjust the wet ingredients in your recipe to account for the added moisture.
- Garden Compost: If you're into gardening, your leftover pulp can be a fantastic addition to your compost pile. It'll decompose and enrich your soil, giving your plants a natural boost.
Remember, the key here is experimentation! Mix and match different pulp types and recipes until you find your own tasty creations. Your kitchen will be the ultimate playground for turning leftovers into scrumptious dishes.
🏅 Plum Juice Method comparison: Blender vs Juicer
When it comes to making plum juice, you've got two solid options: the Blender Method and the Juicer Method. Each has its perks and quirks. The Blender Method is our top pick, especially if you want to keep all that beneficial fiber intact. Plus, blenders handle the plum's skin better, giving you a richer color and fuller flavor.
This is especially true with plums and other stone fruits.
On the flip side, depending on your juicer, the Juicer Method may be quicker and offers a smoother texture, but it tends to remove much of the skin, resulting in a lighter hue. So, whether you're a smooth operator or a fiber fanatic, there's a method just for you!
Hint: If you don’t have time, you can freeze the pulp and use it for pulp muffins.
Read on: how to juice without a juicer (fully-explained technique) or see how to do it for this drink on the recipe card.
🥡 Storage and freezing directions
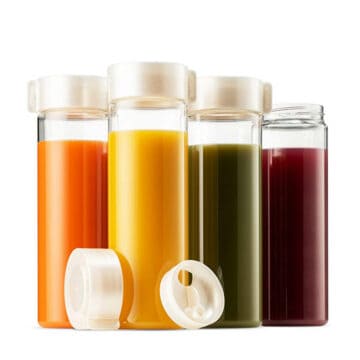
Fridge Storage: The best way to store your freshly made plum juice is in a BPA-free bottle in the fridge. This type of bottle ensures that no harmful chemicals leach into your juice, keeping it as pure as possible. When stored this way, your juice will stay fresh for up to 3-4 days.
Freezing: If you've made a big batch and can't consume it all within a few days, you can freeze it! Pour the juice into ice cube trays, and once frozen, transfer the cubes to a zip-top freezer bag. When you're ready to enjoy, thaw the cubes in the fridge or pop them into a glass and let them melt. Frozen plum juice cubes are good for up to 3 months.
Thawing: Place the desired amount of cubes in the fridge for several hours or overnight to thaw frozen plum juice. You can also use the defrost setting on your microwave for a quicker method.
By using a BPA-free bottle for fridge storage and following these simple freezing directions, you can enjoy your plum juice whenever the craving hits without sacrificing flavor or nutrients.
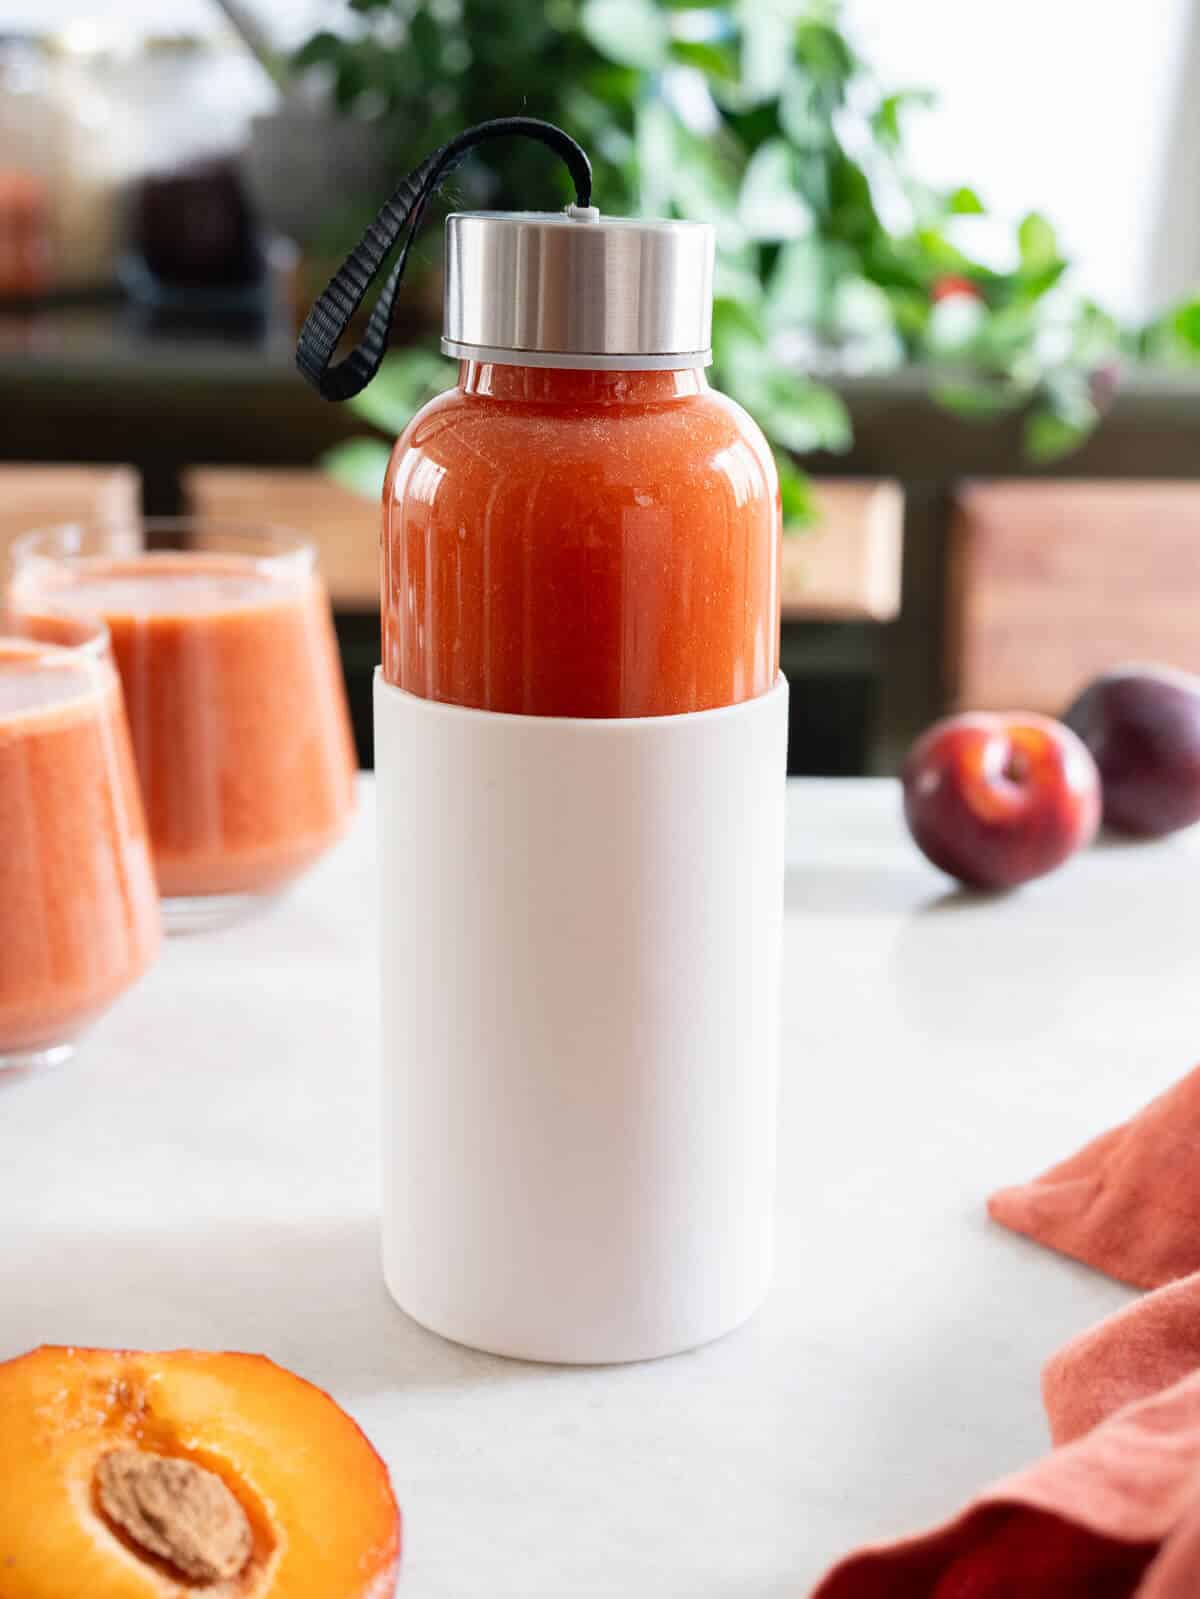
See our juice storing tips to understand better how to keep your leftover juices and retain as many of their ingredients' nutrients as possible.
✅ 10 Plum juice potential health benefits
Let's talk about the benefits of plum juice.
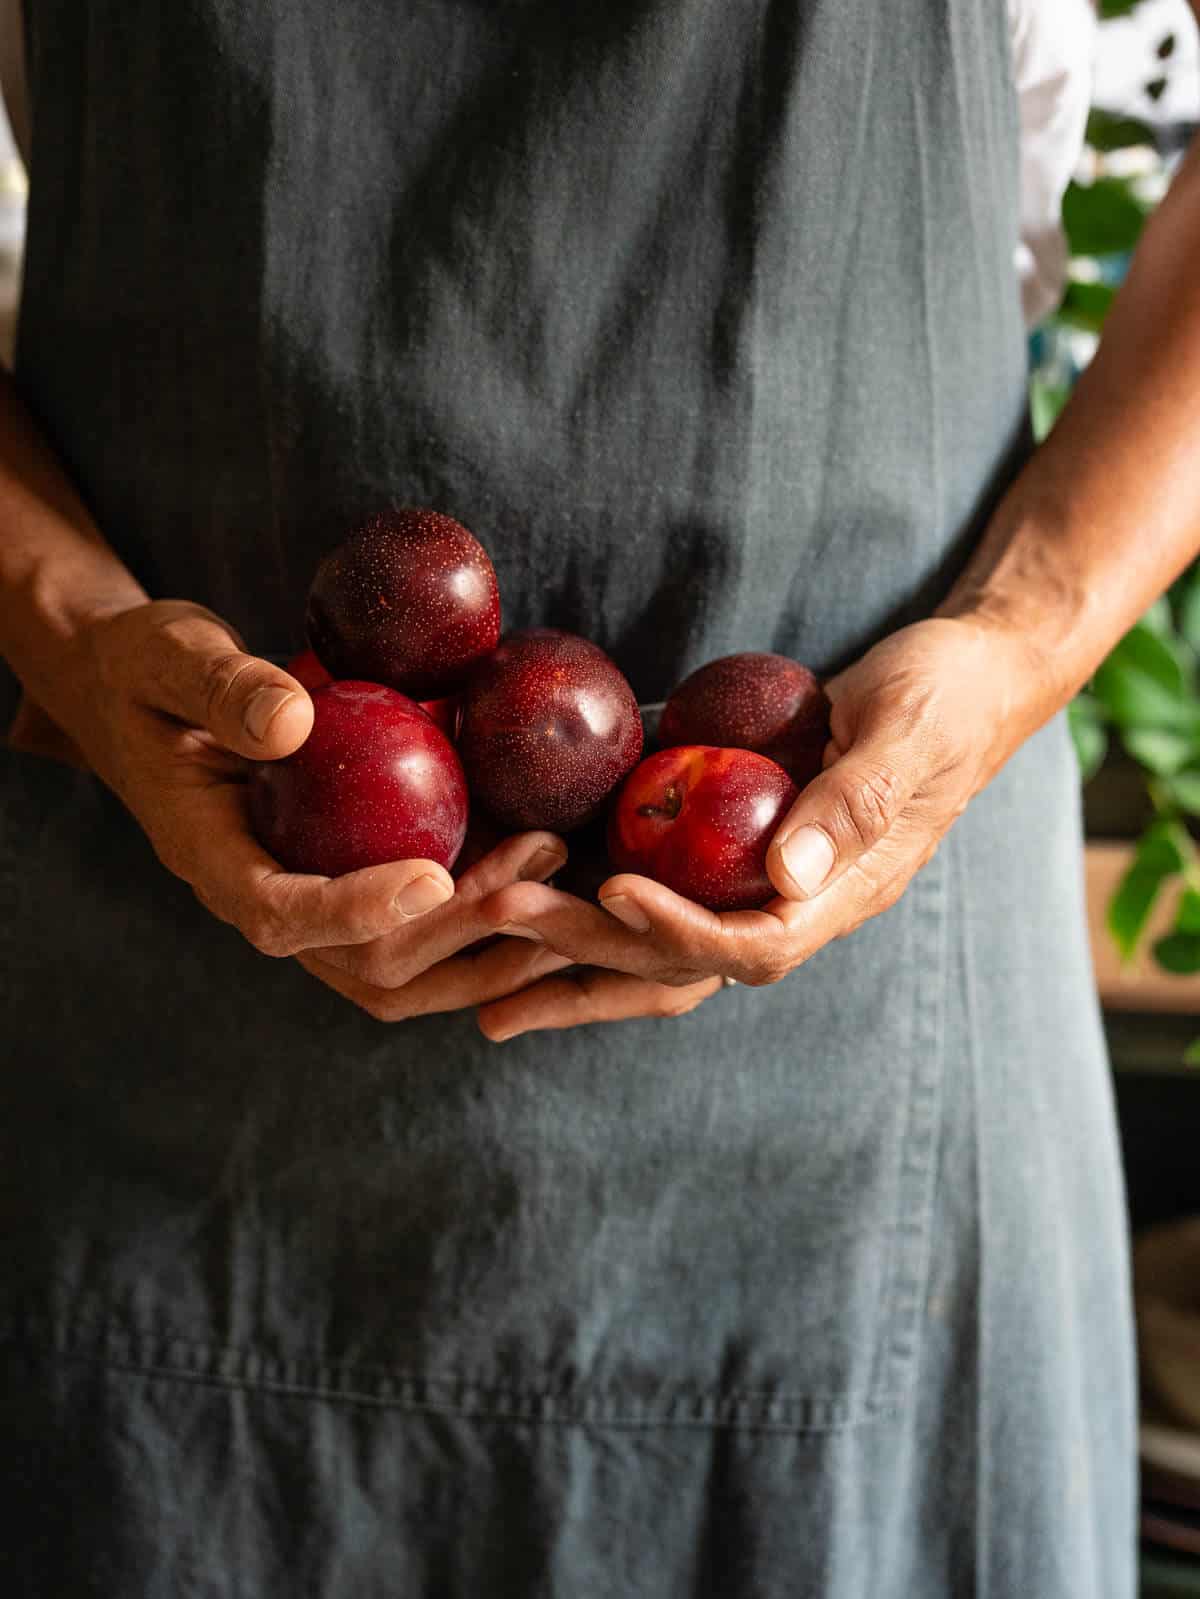
- Rich in Vitamin C: Plum juice is a great source of vitamin C, which is essential for a strong immune system. Studies have shown that vitamin C can help fend off various infections and illnesses. (source)
- Heart Health: The antioxidants in plum juice can contribute to a healthy heart by reducing LDL cholesterol levels and lowering cardiovascular disease risk. (source)
- Blood Pressure Regulation: Potassium in plum juice can help regulate blood pressure, reducing the risk of stroke and heart disease in individuals with high blood pressure. (source)
- Digestive Aid: The dietary fiber in plum juice acts as a natural laxative, aiding digestion and relieving constipation. (source)
- Bone Health: Plums are rich in vitamin K and other beneficial minerals for maintaining healthy bones and improving bone density. (source)
- Blood Sugar Control: The low glycemic index of plum juice can help regulate blood sugar levels, making it a good option for diabetics. (source)
- Cancer Prevention: Antioxidants and phytonutrients in plum juice have been shown to reduce the growth of breast cancer cells and other types of cancer. (source)
- Liver Health: Some studies suggest that the antioxidants in plum juice can support liver function and may even help prevent liver disease. (source)
- Anti-Inflammatory Properties: The antioxidants in plum juice also have anti-inflammatory effects, which can help alleviate symptoms of chronic diseases. (source)
- Weight Loss: The fiber content in plum juice can help you feel full longer, aiding in weight loss by reducing overall calorie intake. (source)
Each of these benefits is backed by scientific research, making plum juice a tasty treat and a health-boosting elixir. Ready to move on to the next section? 😊🌱
Dive into the sizzling universe of red fruits and uncover the health gems hiding beneath those ravishing red exteriors!
They are not only great for plum desserts but also make great red risottos!
🧐 Prune juice vs plum juice
Regarding sippable delights, both plum juice and prune juice have their merits, but they're not quite the same thing. First off, plum juice is made from fresh plums and tends to be lighter and more refreshing. It's rich in vitamin C and offers many health benefits, like immune system support and heart health. On the other hand, prune juice is made from dried plums or prunes and is often darker and thicker. It's a go-to choice for constipation relief and is rich in dietary fiber.
The choice between plum and prune juice often boils down to your health goals and personal taste preferences. If you're looking for a lighter, more refreshing drink that's versatile and rich in antioxidants, plum juice is your jam. But if you're after something that packs a fiber punch and aids in digestion, prune juice might be more up your alley. Both are nutritious options, so you really can't go wrong!
❓ FAQ
No, plum juice and prune juice are not the same. Plum juice is made from fresh plums and is generally lighter and more refreshing. Prune juice is made from dried plums or prunes and is often darker and thicker, commonly used for its high fiber content and constipation relief benefits.
Prune juice typically has a dark brown or deep purple color.
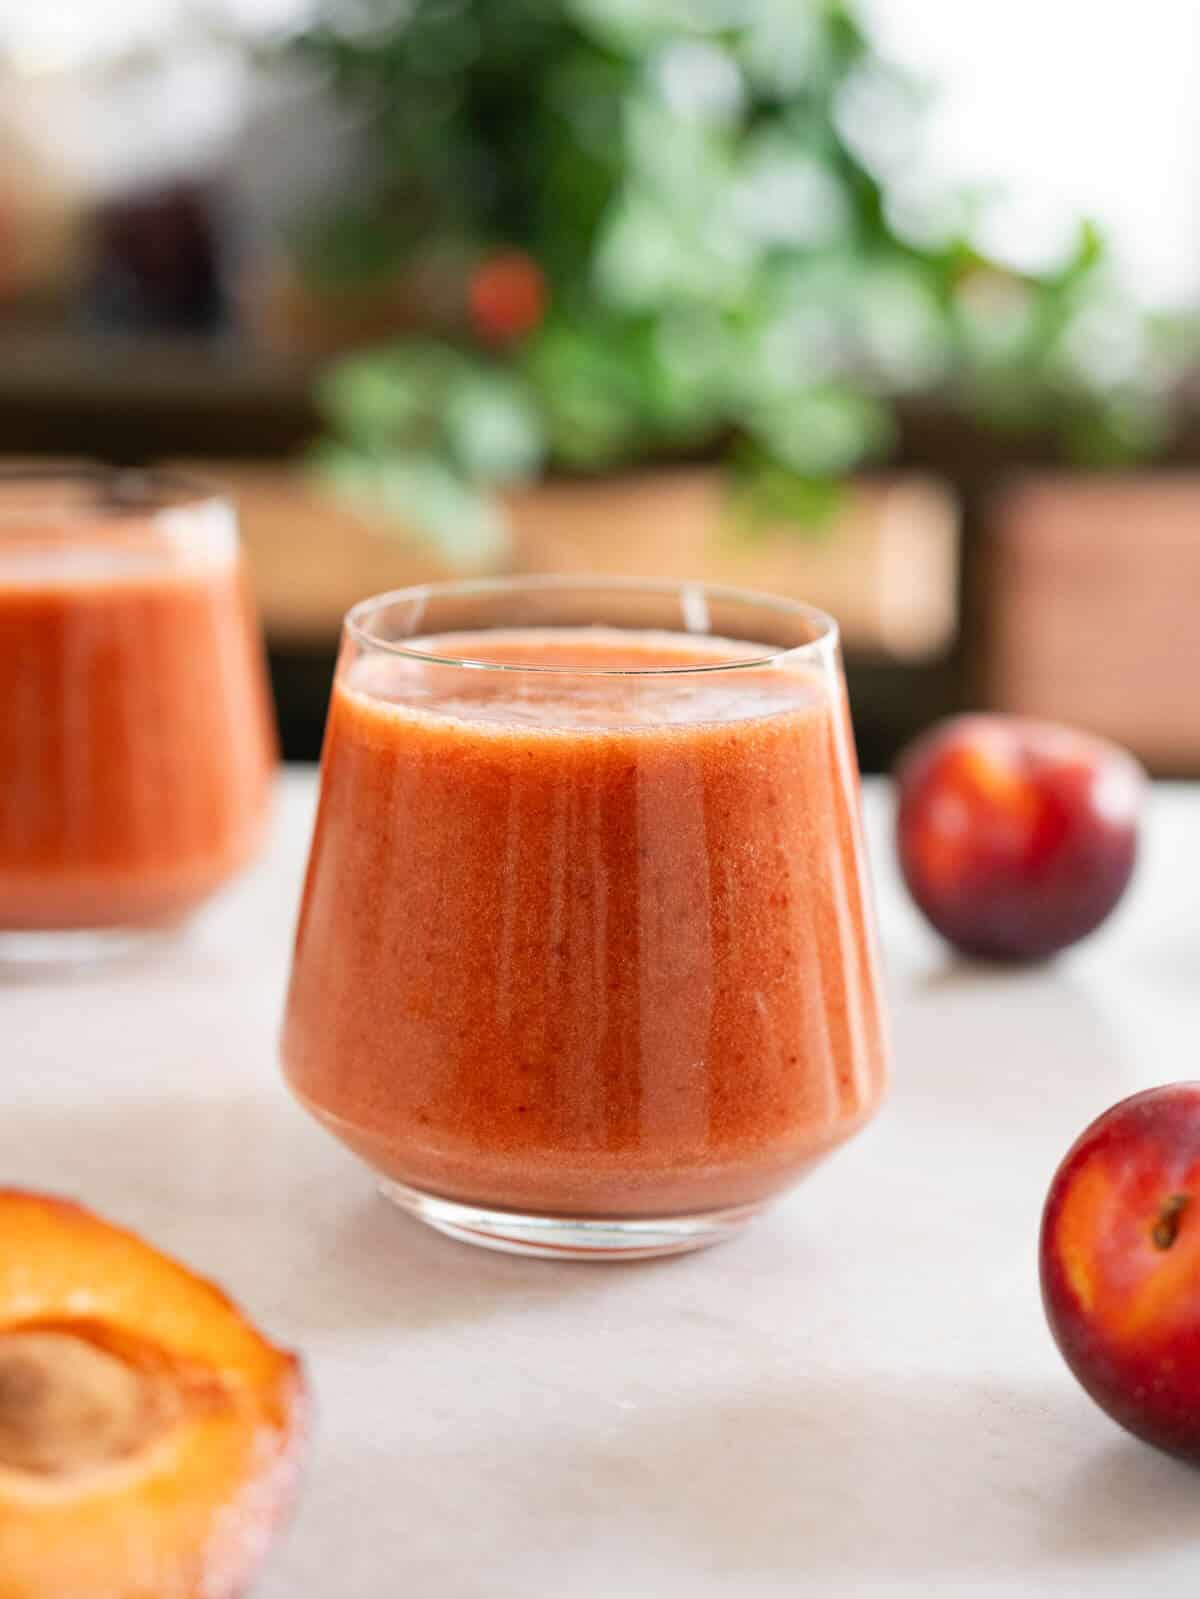
🧃 More healthy homemade juice recipes
Let's dive into a selection of more healthy homemade juice recipes that'll keep your taste buds delighted and your body nourished.
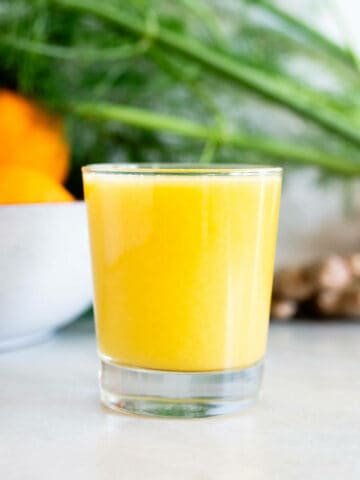
If you're looking for a change from plum juice, why not explore our fennel juice for an upset stomach recipe for a refreshing and soothing alternative?
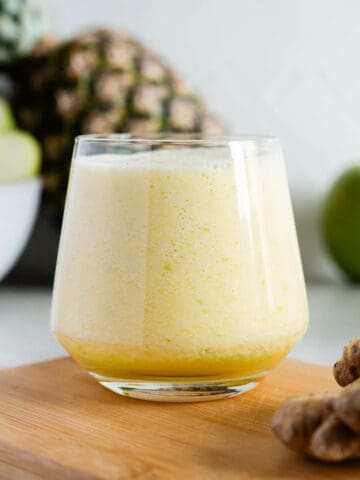
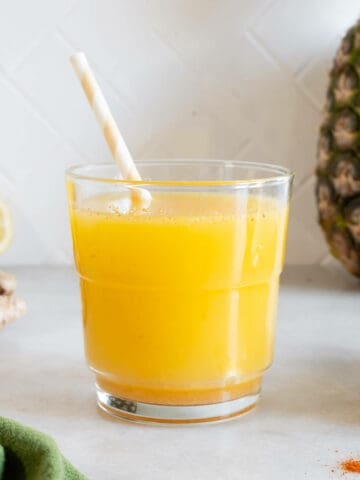
While plum juice is a tasty way to address digestive issues, don't overlook the effectiveness of pineapple juice for constipation, another great option for maintaining optimal gut health.
⭐ If you try this recipe, let us know! 💬 Leave a comment, rate it, and don't forget to tag us @ourplantbasedworld on Instagram. Cheers!
🎥 Video
📋 Recipe
Plum Juice Recipe and Benefits (Blender & Juicer Methods)
Ingredients
- 7 plums ripe
- 2 cups cold water only for the blender method
Optional add-ins
- ¼ lemon juiced
- ½ knob ginger
- 1 tablespoon agave syrup or maple syrup. Only in case your plums are not sweet/ripe enough.
Directions
Blender Method
- Prep the Plums and Ginger: Wash your ripe plums and set them aside. For the ginger, use a potato peeler to gently remove the skin.
- Lemon Choices: You've got options here! Either peel the lemon and remove the seeds to blend it with the rest, or simply squeeze its juice into the mix later using a lemon press.
- Blend It Up: Add the plums, peeled ginger, and your lemon choice into your high-speed blender. Pour in the iced water and hit blend, letting it whirl for about 40 seconds.
- To Strain or Not to Strain: We're team no-strain here. The juice is often enjoyed for its fiber content, especially its natural laxative properties. Plus, straining just leaves you with another dish to wash. But if you're a smooth operator, go ahead and use a fine-mesh strainer.
- Sweeten to Taste: If your plums are a bit tart, a tablespoon of agave nectar or maple syrup will balance things out. Agave is our go-to for its neutral impact on flavor.
Juicer Method
- Prep the Plums: Simply wash your ripe plums and you're good to go. The juicer will handle the seeds, no worries.
- Lemon Choices: You've got options! Either peel and de-seed the lemon to run it through the juicer, or just squeeze its juice into the final product using a lemon press.
- Juice It Up: Add the plums and ginger (no need to peel for this method) into your juicer. If you're juicing the lemon, toss it in now. Fire up the juicer and let it work its magic.
- Stir and Sweeten: Once your juice is ready, give it a good stir. If you used the lemon press, now's the time to stir that in. Taste test and, if needed, sweeten with a tablespoon of agave nectar or maple syrup.
Video
Notes
Nutrition Facts
Nutritional Disclaimer
The information shown is an estimate provided by an online nutrition calculator. It should not be considered a substitute for a professional nutritionist's advice. See our full Nutritional Disclosure here.
Affiliate Disclaimer
Please note that some of the links here are affiliate links, and I will earn a commission if you purchase through those links. I recommend all of the products listed because they are companies I have found helpful and trustworthy.
As the lead content writer and recipe developer at Our Plant-Based World, he combines his passion for health and sustainability with a Plant-Based Nutrition Certification to create accessible, delicious vegan recipes. His expertise in plant-based cooking supports the blog's mission of fostering a healthier, environmentally conscious lifestyle through simple and seasonal dishes. His commitment to making vegan cooking enjoyable and inclusive for everyone shines in each recipe and article.






Comments
No Comments