Welcome to the delicious world of Italian artisan bread! Today, we'll be taking a journey into the heart of Italy's rich culinary tradition with a simple, yet stunningly flavorful recipe: homemade rustic pagnotta bread. This bread, with its distinct crusty exterior and soft, airy interior, is a staple in Italian households. Drawing its roots from centuries-old baking techniques, Pagnotta bread represents the epitome of Italian Artisan Bread, brimming with rustic charm and an unbeatable taste. Whether you're a seasoned baker or a novice eager to try your hand at authentic Italian baking, this recipe is sure to provide a delightful experience.
About a year ago, we stopped buying bread because this rustic peasant loaf is easy to make, cheap, and healthier. The easy yeast bread loaf makes the house smell like heaven.
Also, we are conscious about consuming as few simple carbs as we can; we agreed on two rules: if we have bread, it has to be memorable and homemade; this way, we control what goes in it.
Second, as this simple bread recipe takes a couple of hours to make, we have to plan; it is not merely a result of a simple carbs craving.
Jump to:
This Italian round country bread is what we make once a week when we crave some bread. It is either this Italian rustic loaf or focaccia. It also makes a great accompaniment for wonderful soup bowls.
🤔 What is Pagnotta bread
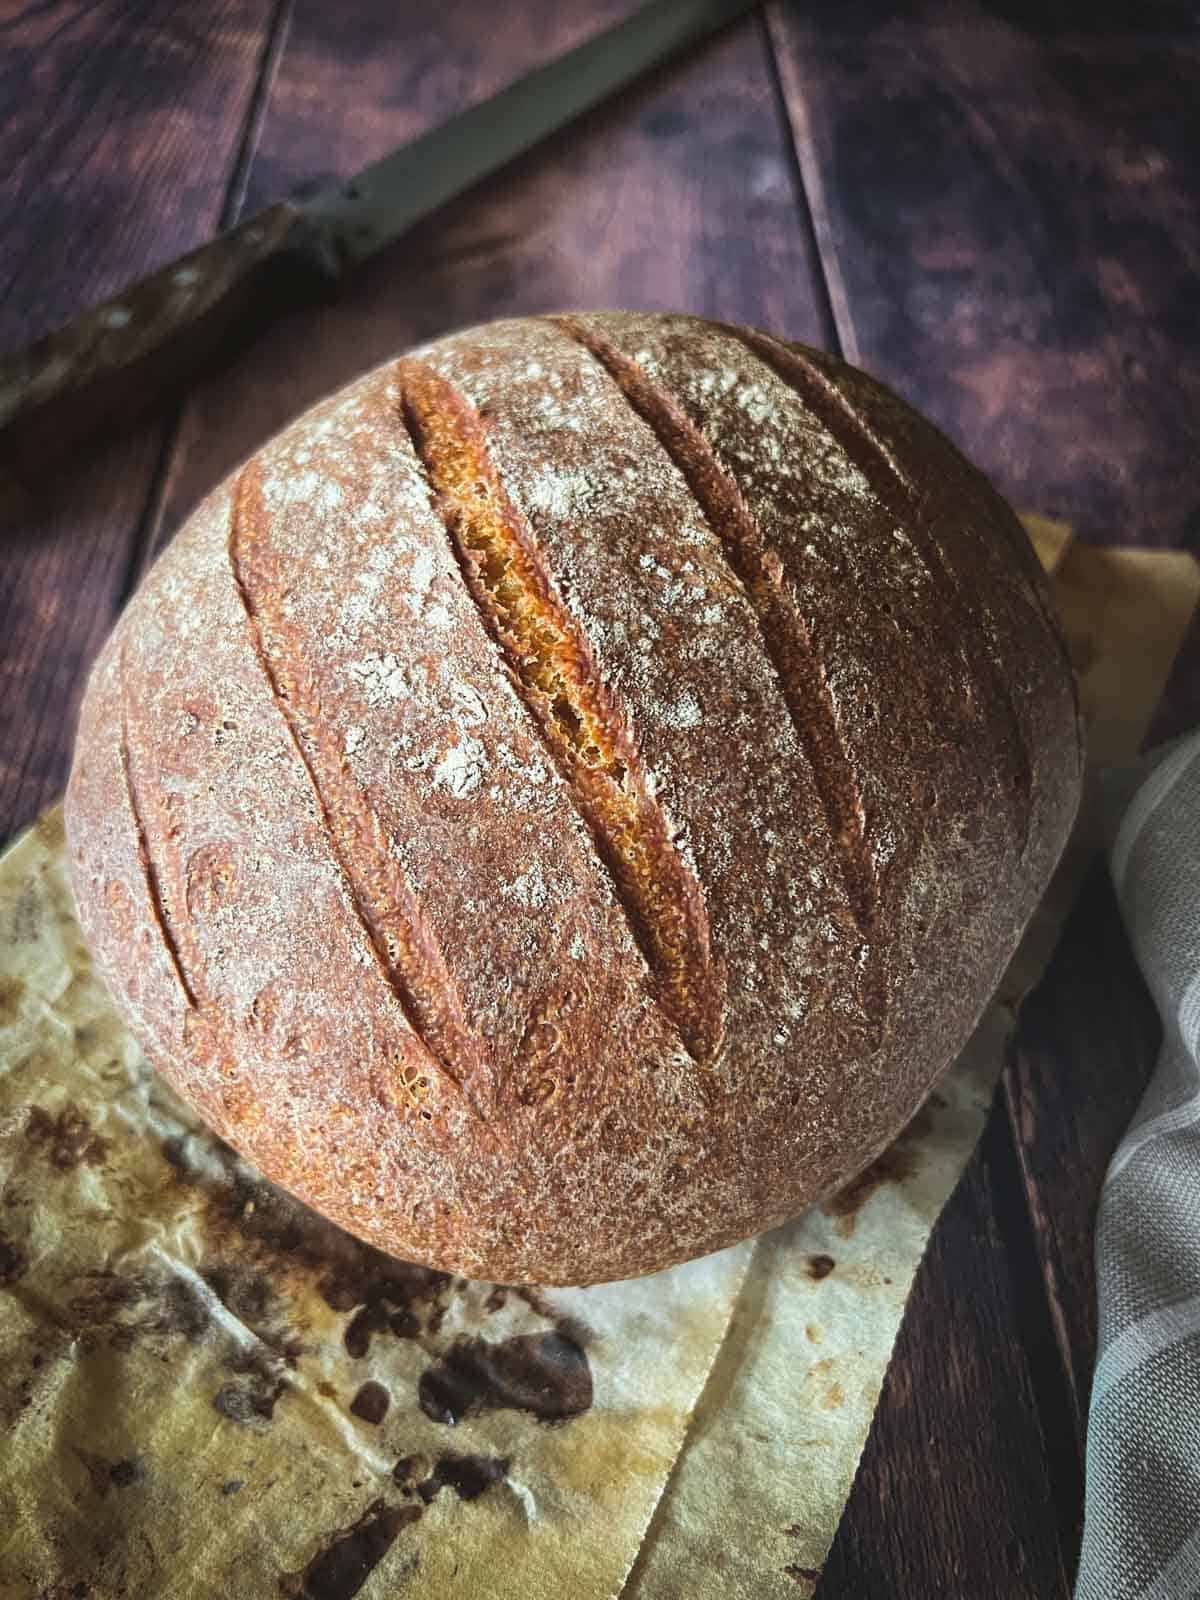
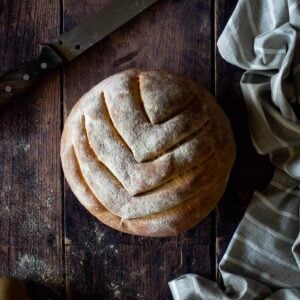
This Italian round country bread is sort of a mild sourdough loaf with a light brown crust. It is not too dense and great for making bruschettas and sandwiches.
We also love using this homemade bread recipe as a stew or soup bowl container (pan cook) and then scraping the insides with a fork, which comes soaked with whatever the stew goodness is made of.
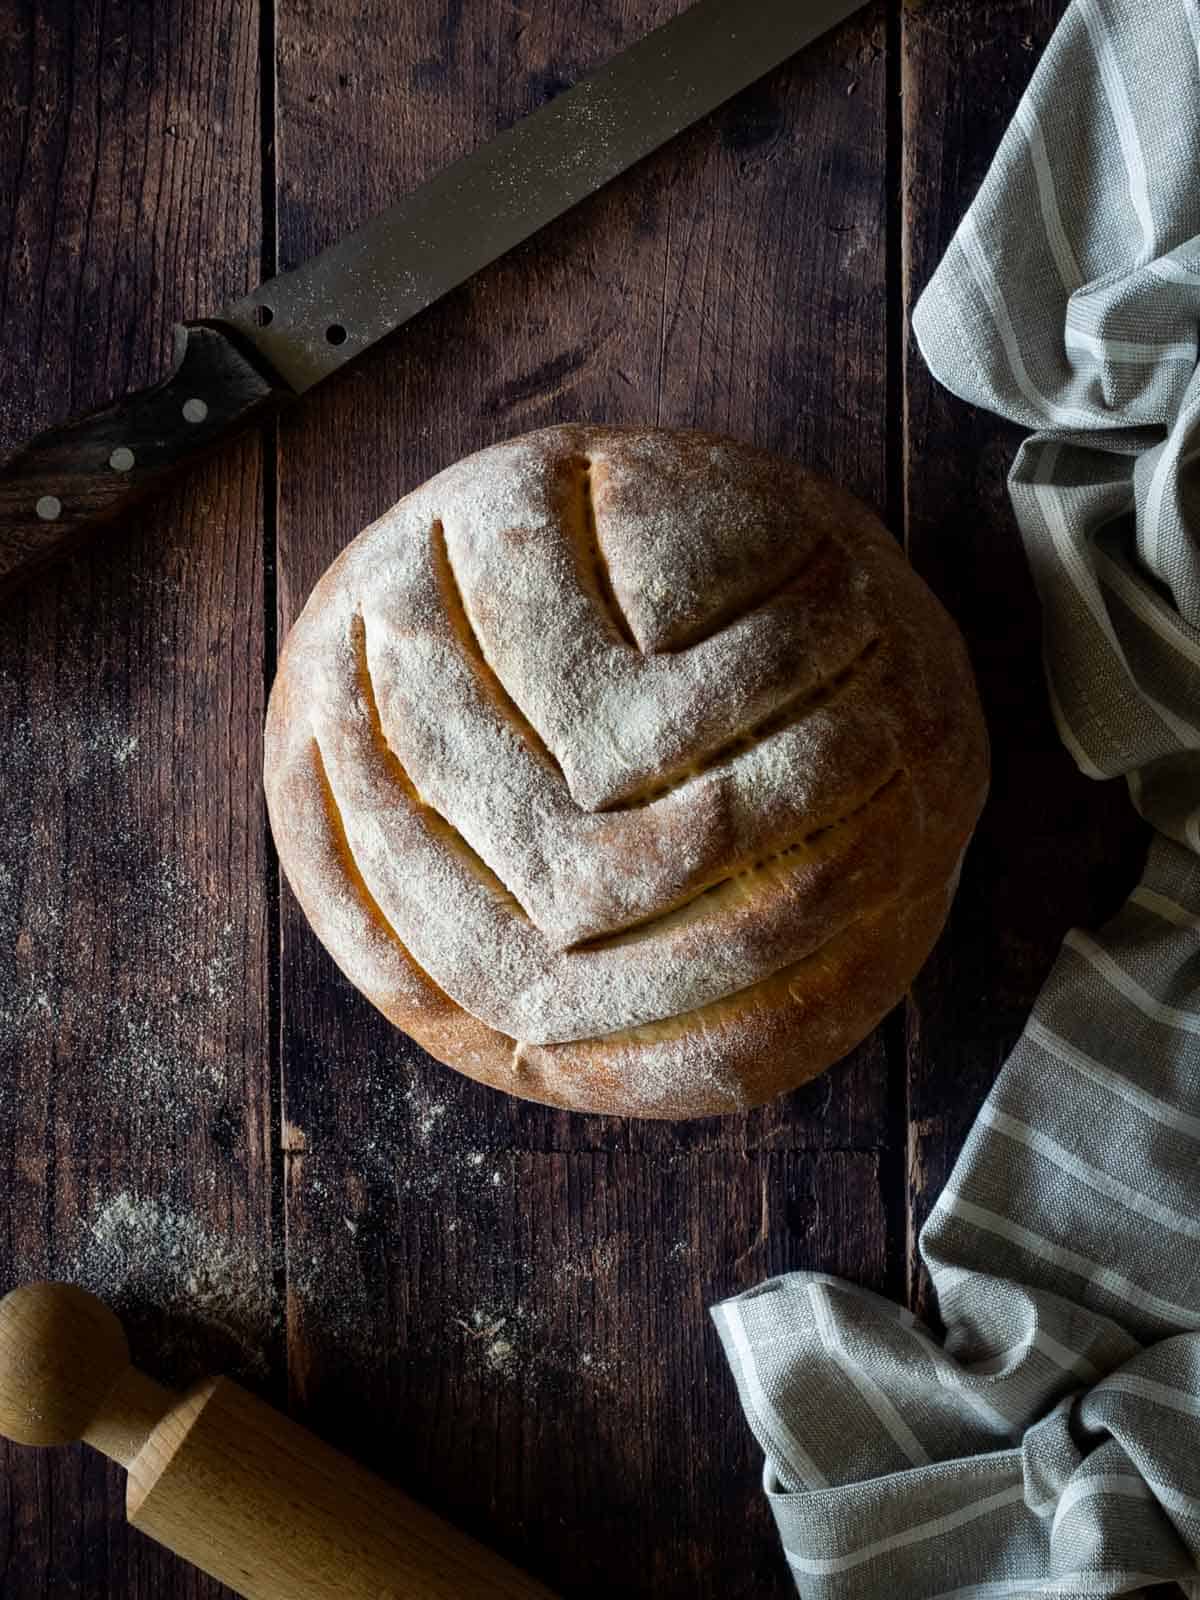
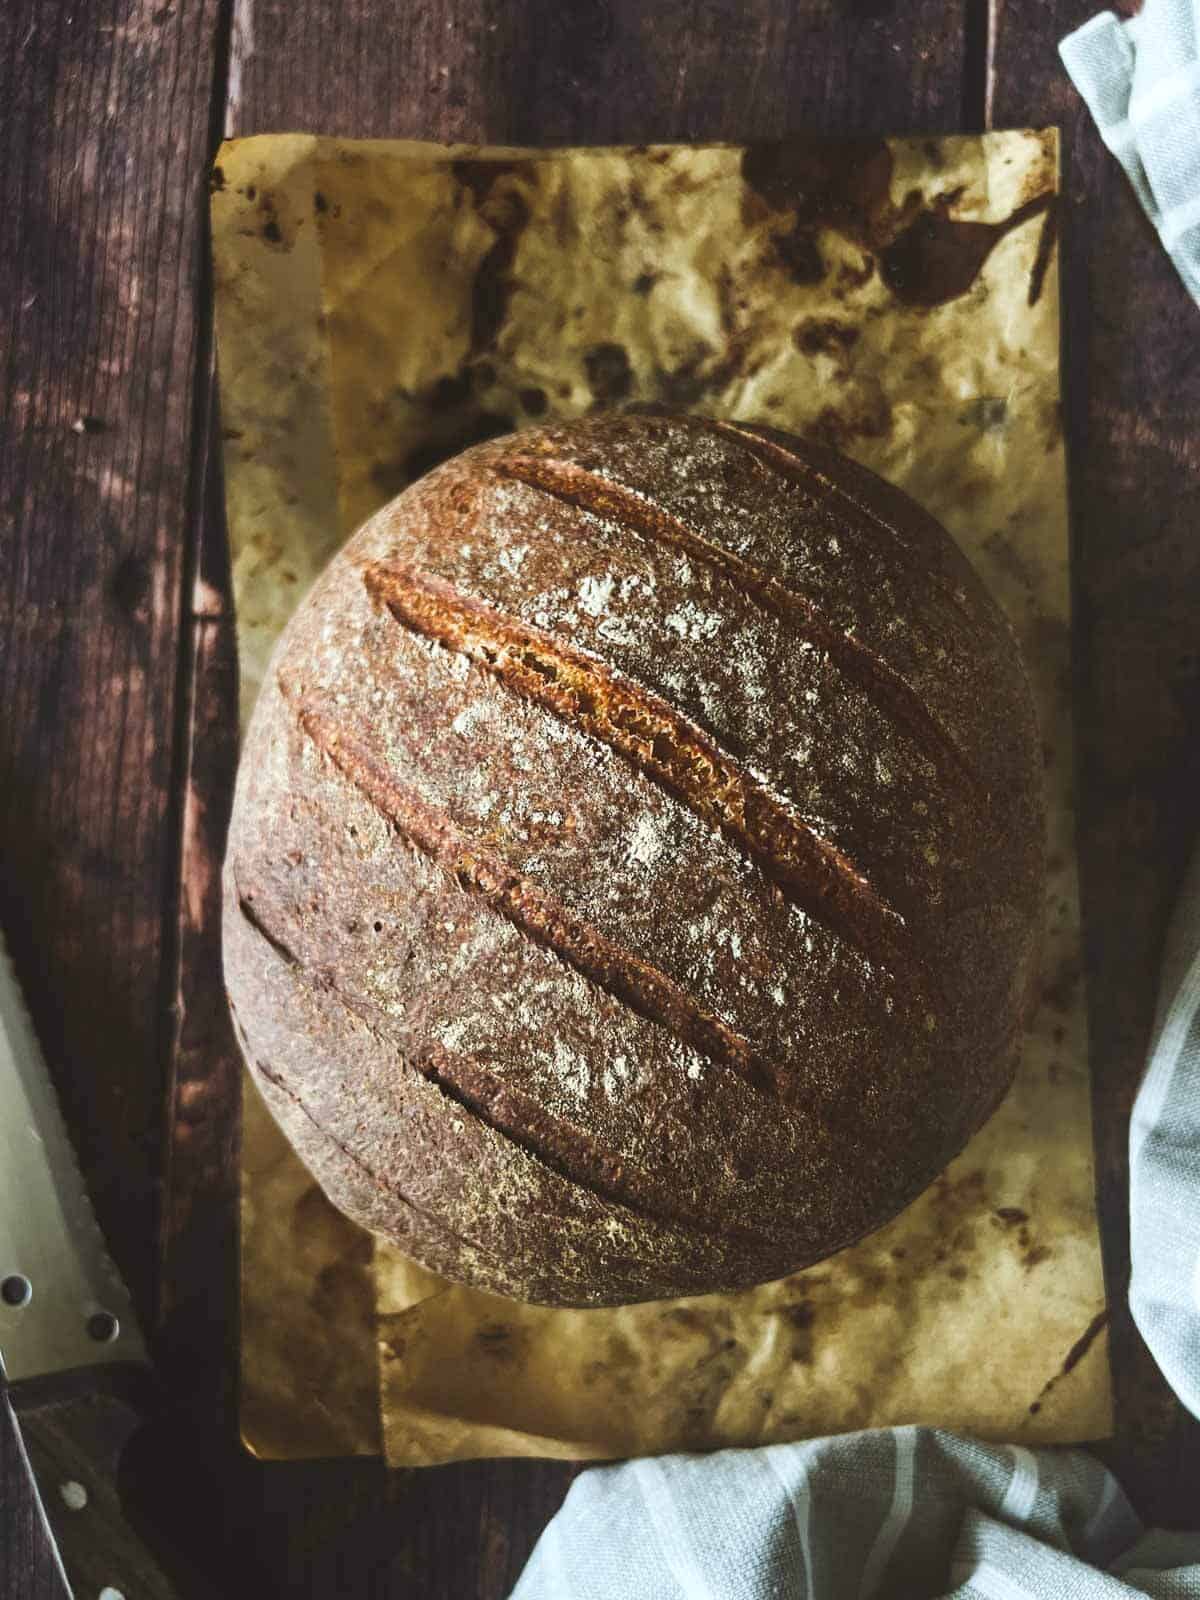
It is a traditional Pugliese bread loaf typical of Puglia but loved and appreciated throughout Italy. It can be made with fancy durum flour, plain flour, or wheat semolina bread.
This artisan bread has a deep golden brown color, a lightly floured surface, a crunchy crust, and a thick and soft inside.
Traditionally it is also made of substantial sizes, up to 2-3 kg, but here we are making a relatively medium pagnotta, but you can use the same flour to make small round rolls, which will take less time to cook.
This classic Italian bread can be used for dishes such as the famous Ribollita, a Tuscan bread soup that makes a complete and balanced meal made with leafy greens and white beans.
🧾 Ingredients
The original recipe calls for a few Italian ingredients as follows
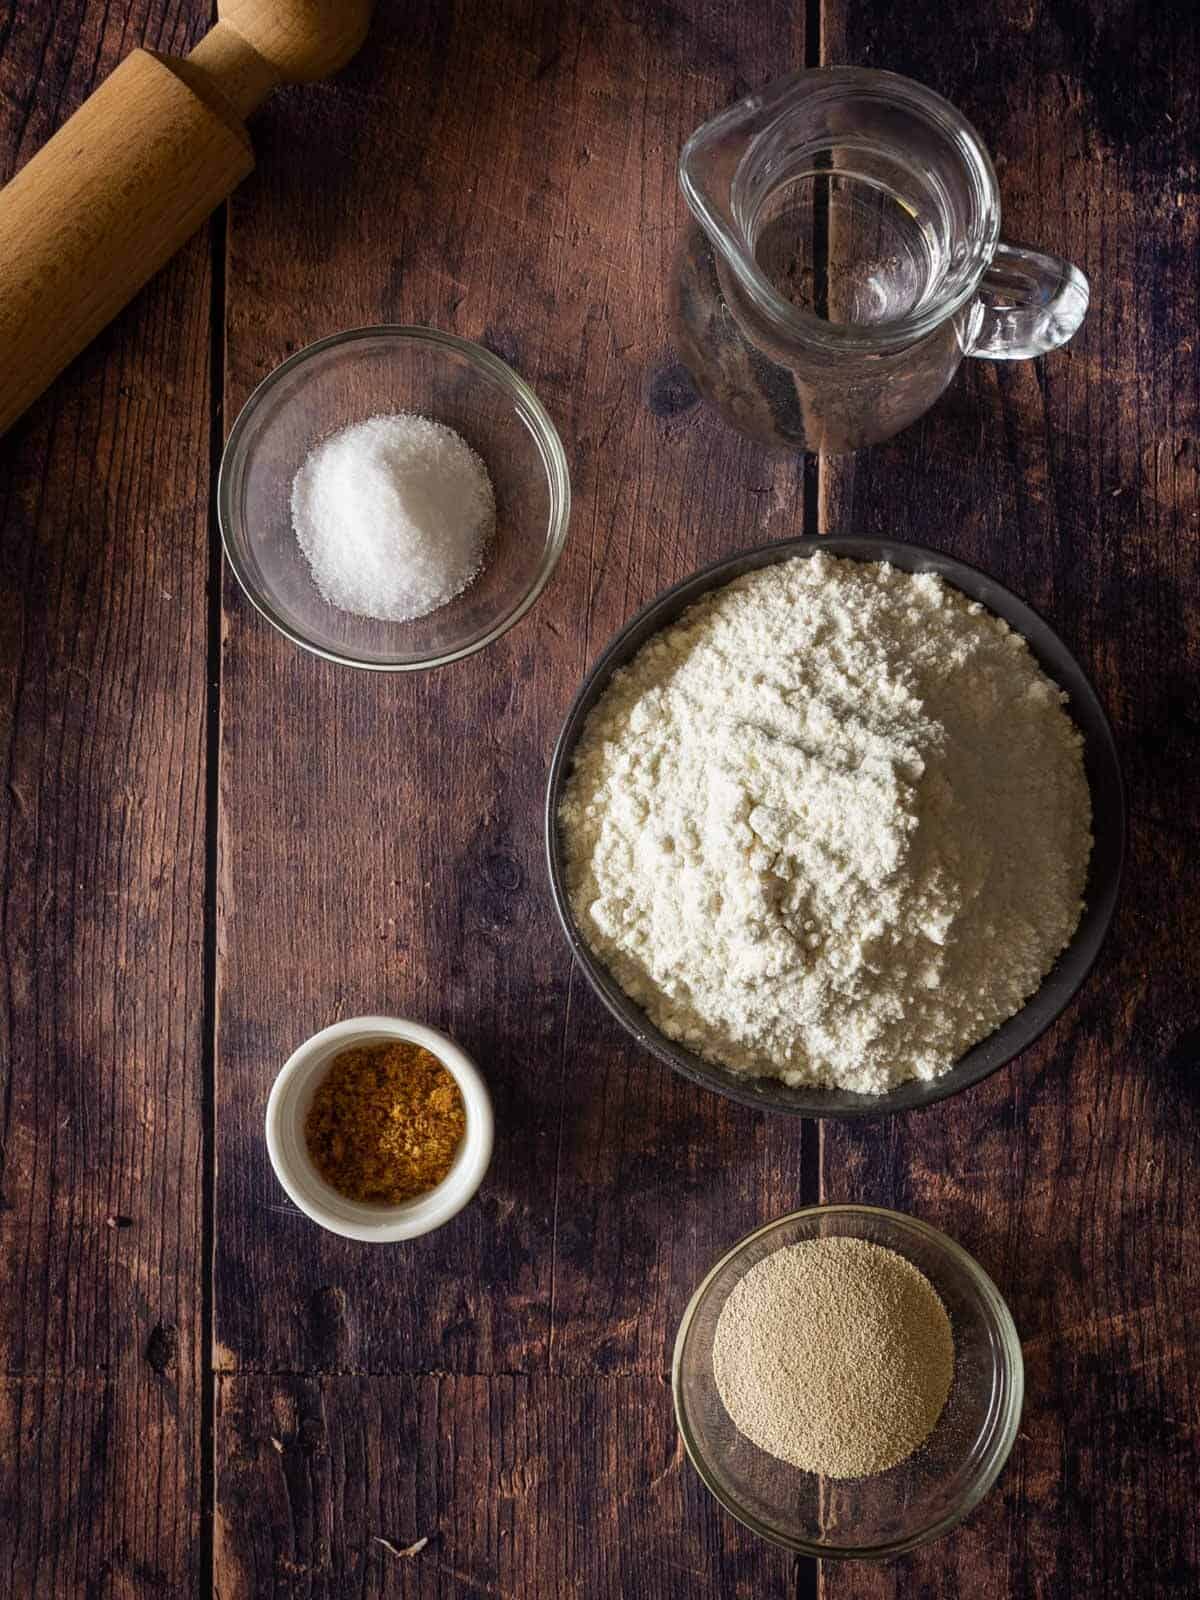
- Type 0 Bread Flour or All-purpose flour plus some to adjust: Flour is the main ingredient in bread and provides structure and texture to the loaf. Type 0 bread flour is used for a denser, chewier texture, while all-purpose flour is used for a lighter, softer texture.
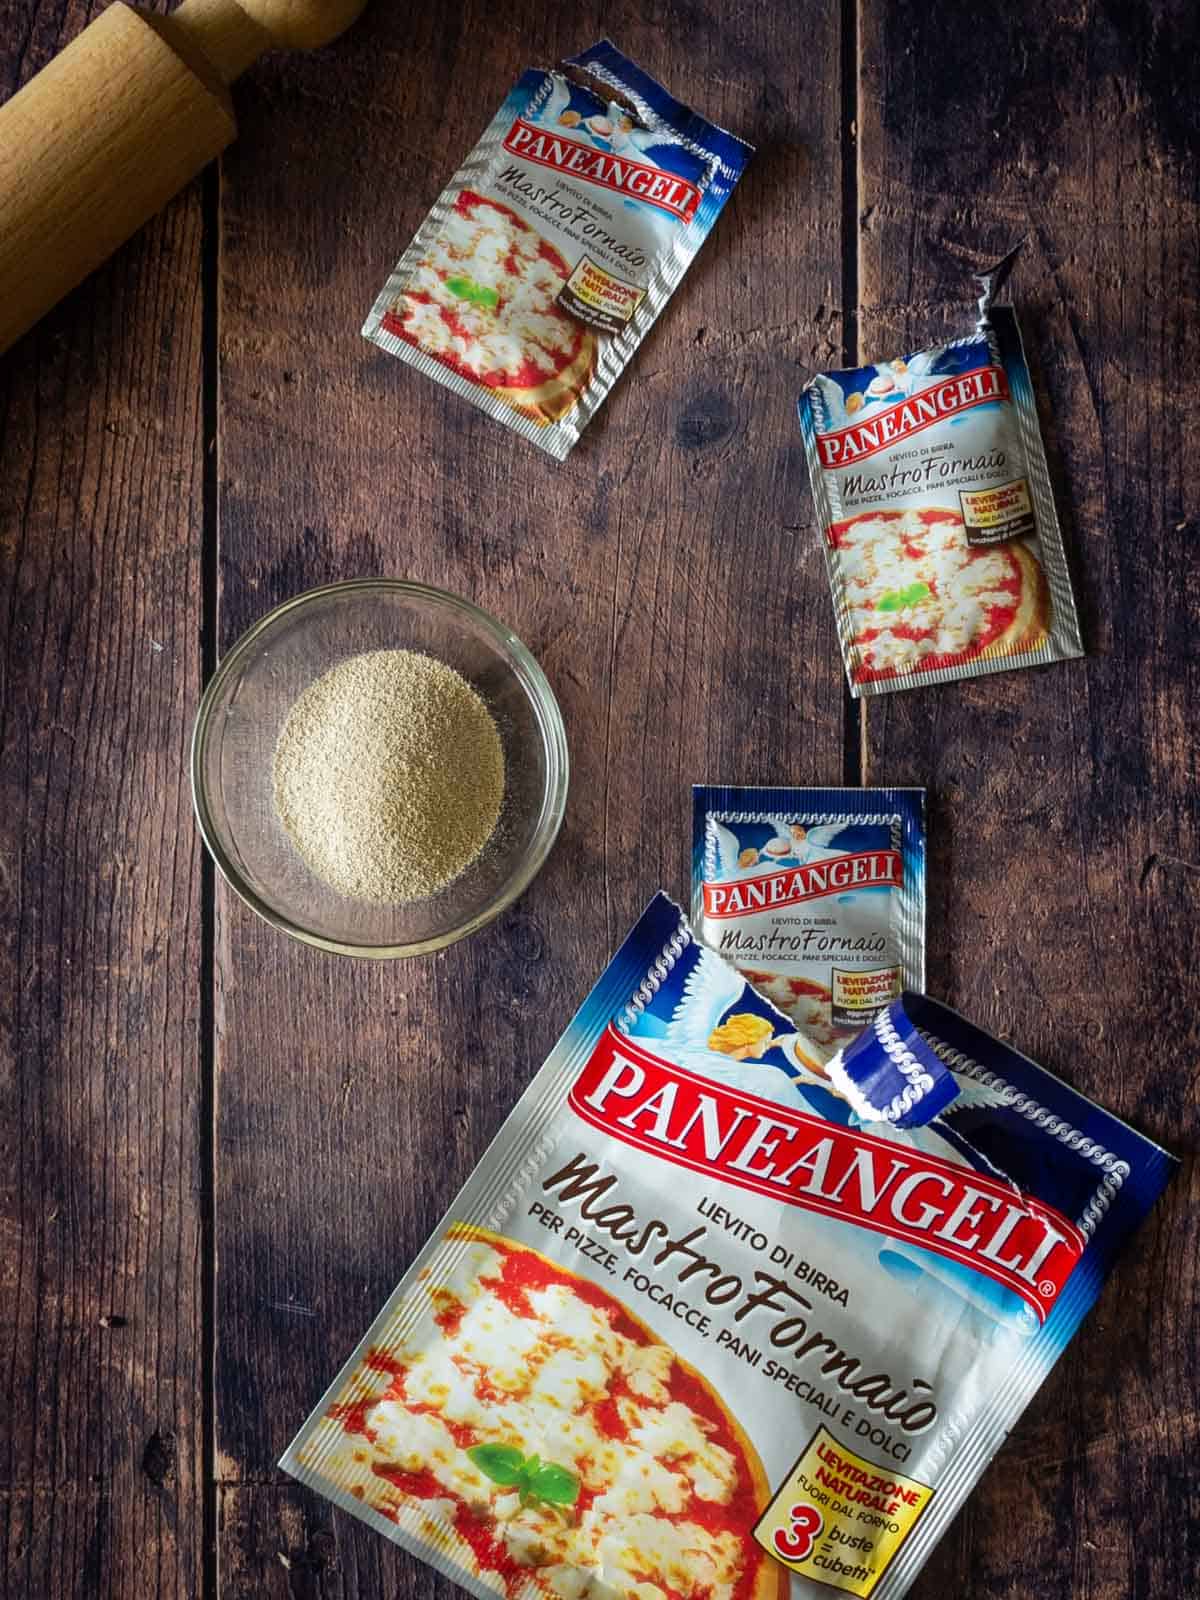
- Brewer’s yeast: active dry yeast is used as a leavening agent, causing the bread to rise and creating air pockets in the crumb.
- Olive oil is added to the dough to enhance the flavor and texture of the bread, giving it a rich, nutty flavor and a tender crumb.
- Lukewarm Water is used to hydrate the dough and activate the yeast, helping the bread to rise.
- Brown sugar is used to feed the yeast, providing the necessary sugar for fermentation and helping to create a flavorful crust.
- Salt is used to enhance the flavor of the bread and regulate the fermentation process, allowing the bread to rise properly and preventing the dough from becoming too sticky.
See quantities and complete instructions in the recipe card.
🔪 Instructions
Prepare the yeast water
Measure your ingredients carefully.
Hint: you can use measuring cups, but in baking, it is best to weigh your ingredients using a kitchen scale.
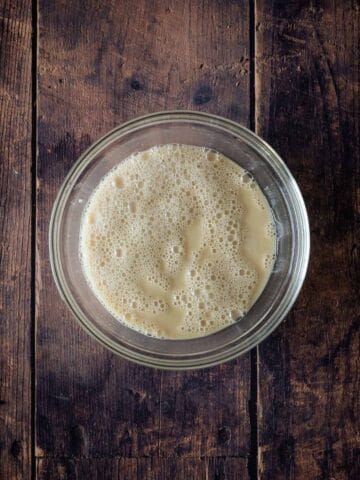
Step 1: Dissolve the dry instant yeast in lukewarm water with sugar and let it rest for 5 minutes.

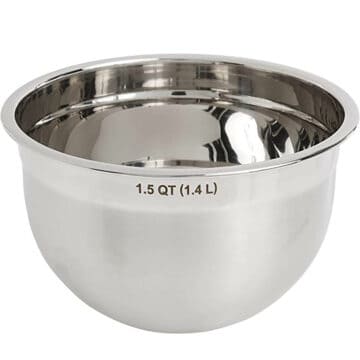
Step 2: In a large bowl, toss the flour and make a whole in the flour.

Step 3: Mix the flour with the yeast water to knead the bread loaf dough.
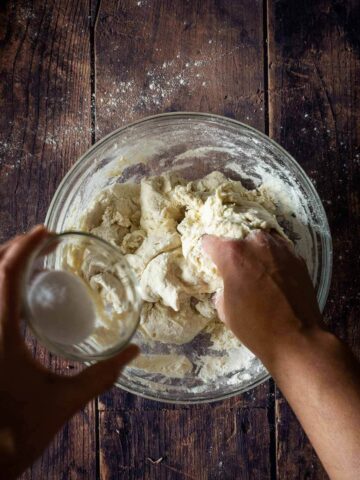
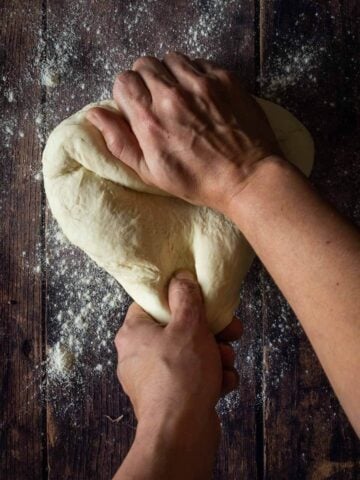
Step 4: Add salt and scatter it evenly in the bread dough; then knead until it is smooth. Use extra flour if the dough sticks too much on your hands.
Baker's tip: salt is an enemy of the yeast; that's why you should avoid direct contact and why we don't add it together with the rest of the ingredients. Also, remember to beat the dough several times on the work surface to activate the gluten-creating folds and pull the dough's edges toward the loaf's center.
Step 5: Stretch the bread dough for ten minutes. Feel free to add any herbs, tree nuts, or ground garlic if you like; one to two teaspoons is enough to infuse some flavor.
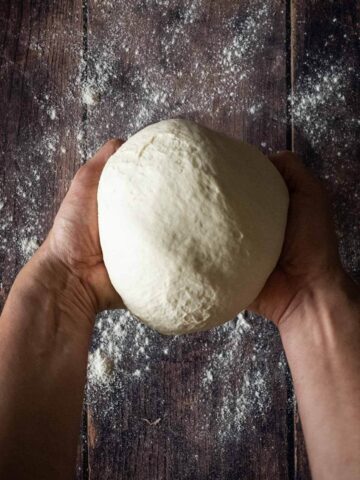
Step 6: This is the first proofing (rise). Form a ball, arrange it in a tray, and oil the surface with olive oil.
Note: You can use a stand mixer, but I prefer to knead it myself to avoid having too many dirty utensils since the kneading time is minimal.
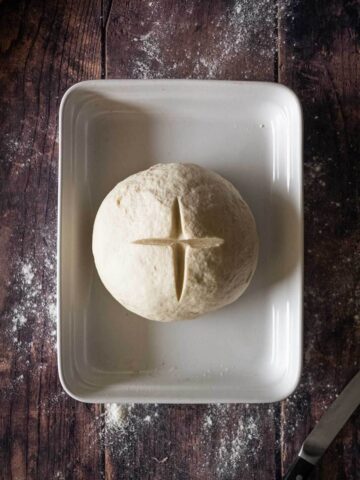
Step 7: Oil the top of the dough and then Crisscross it.
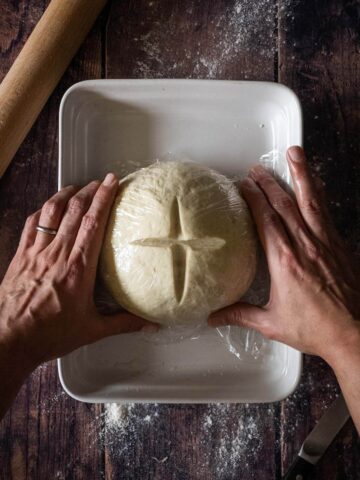
Step 8: Place dough in a greased basin, cover it with a sheet of plastic wrap, or in a bowl sealed with a moistened clean kitchen towel, and let rise in a warm place (or at room temperature if the kitchen is warm) for an hour and a half.
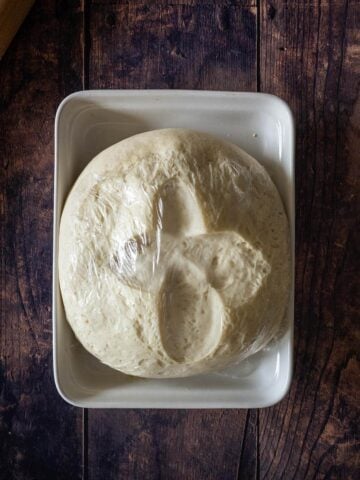
Step 9: Let the dough rise for one hour, covered with cling paper.
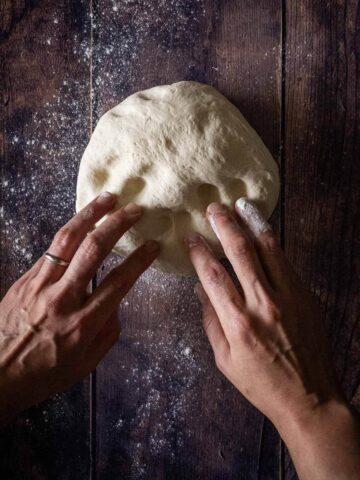
Step 10: Second proof (rise). Transfer the leavened dough onto the floured surface and deflate it slightly by pressing it with your fingers. If the dough has reached the right leavening, perfect imprints must remain in the dough.
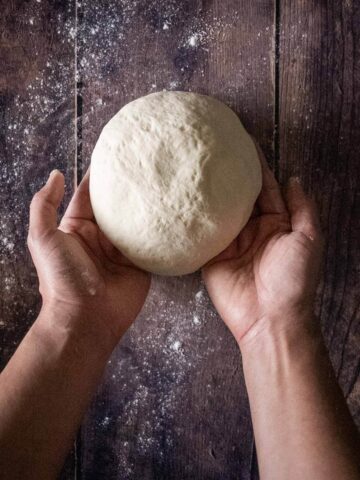
Step 11: Form a loaf and pull the edges of the dough first outwards and then towards the center of the bread loaf (pagnotta) to form folds. Once the dough hooks, turn the dough upside down, smooth side up; give it a round shape to create a perfectly round ball, shaping it with your hands using a circular motion.
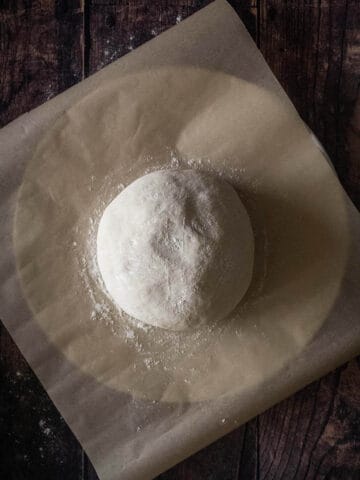
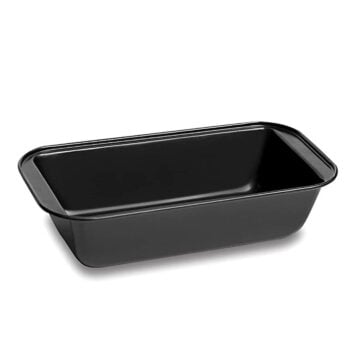
Step 12: Transfer the loaf to a baking sheet lined with parchment paper (or a baking stone, cover it with the same plastic wrap, and let it rise for 45 minutes.
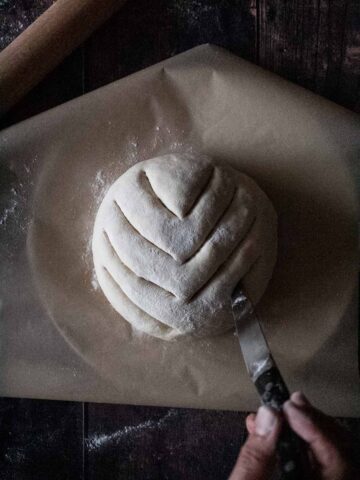
Step 13: Cut it on the surface with a cutlet, lightly flour it, and bake it in a preheated oven at 450 ºF (230 ºC) for about 30-35 minutes until you see a deep brown crust has formed.
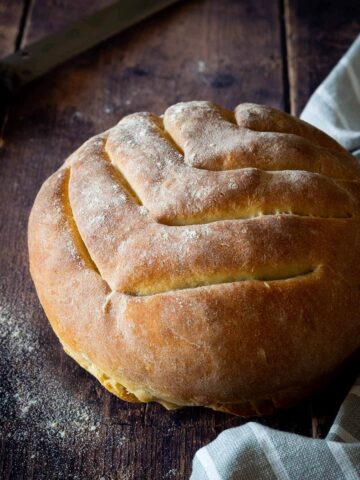
Step 14: When the bread looks golden brown, the crispy crust is ready! Remove from the oven and let the bread rest until it settles for no less than ten minutes.
Tip for optimal cooking: put a saucepan of hot water on the bottom of the oven while you preheat it and during cooking, to create steam and obtain optimal baking of the bread.
Note: don't open the oven during the baking process. It is essential to keep the temperature constant. If you note that the time elapsed is less than 30 minutes, it already looks dark brown; reduce heat (10-20 degrees).
🥢 How to serve
Some ideas on how to serve Italian round country bread.
In theory, you should let this artisan bread cool completely at room temperature in a cooling rack and cut it with a sharp or serrated knife to discover the soft center.
I never wait; the smell of this freshly made peasant bread is so good that we dive into it, but I needed to let you know, as that is what a professional baker will tell you!
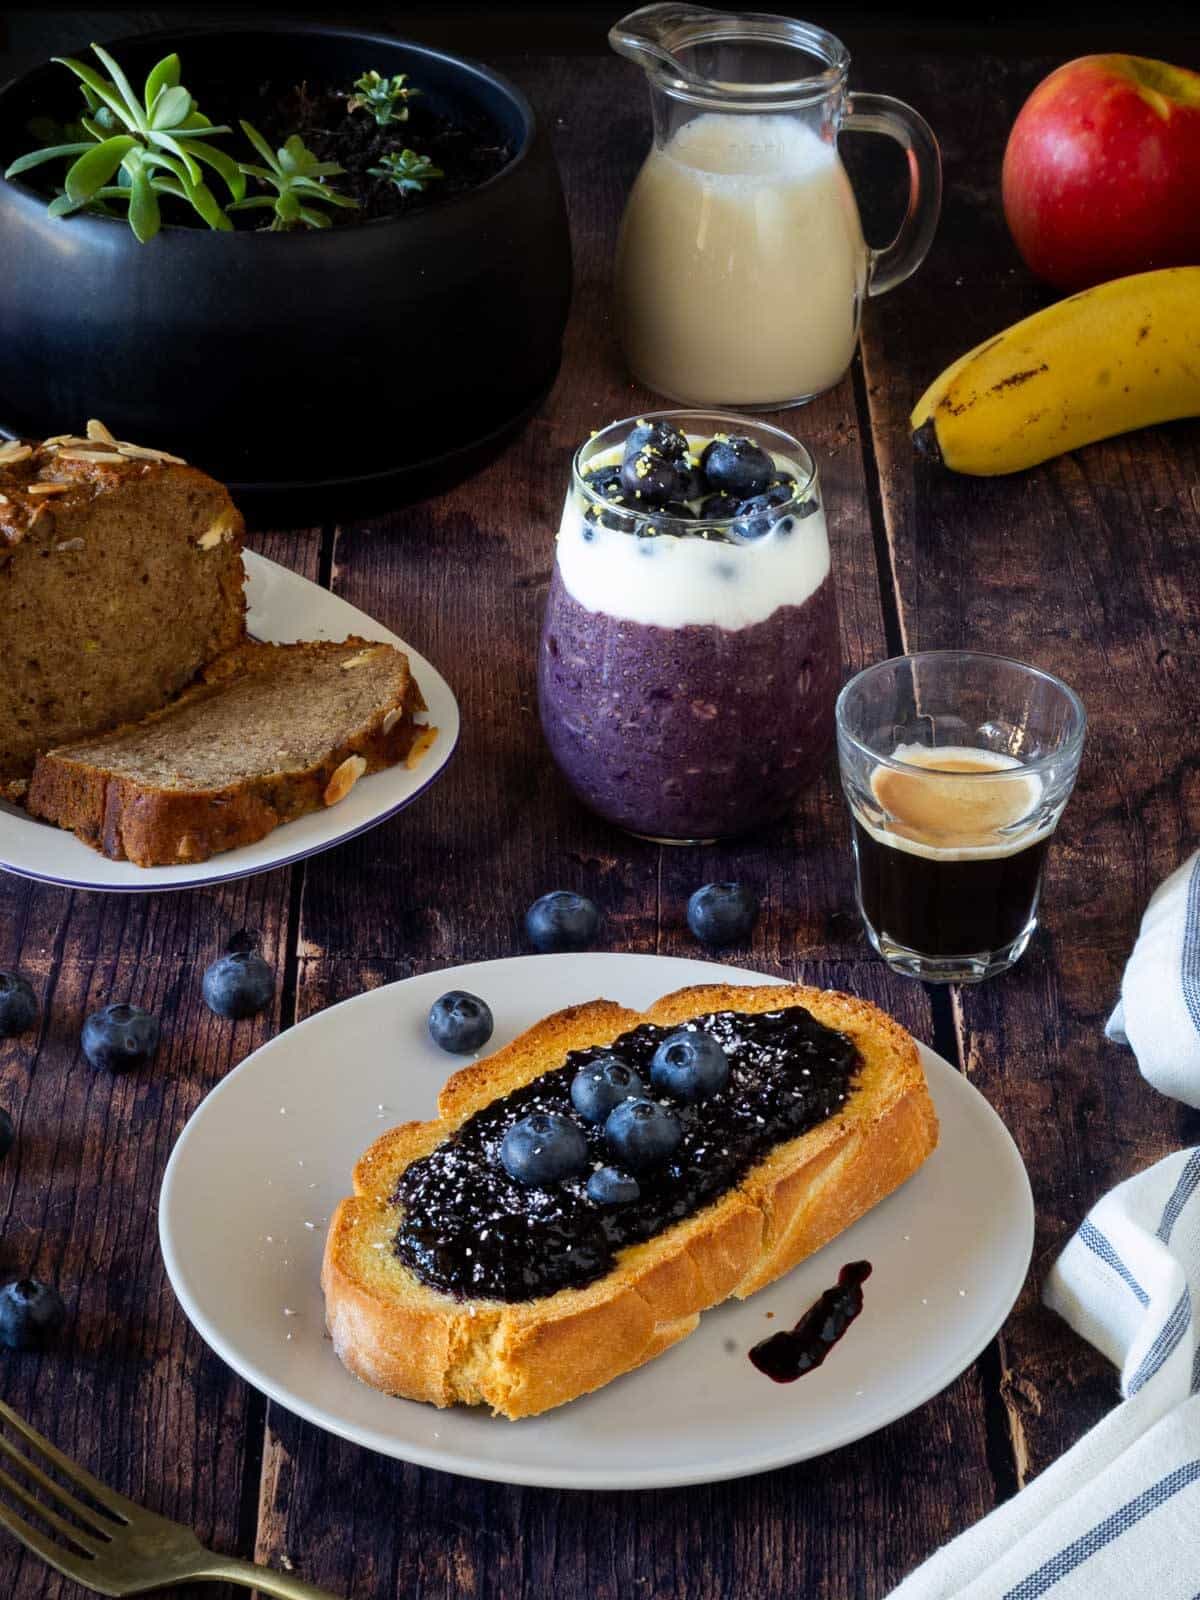
Breakfast
We love serving this Pagnotta bread at breakfast with blueberry jam or this fantastic vegan butter, and our easy vegan banana bread.
Dips, Sauces, and Toppings
This is also the bread we use to make avo toasts with our homemade guacamole recipe, and to make it extra yummy; we put a portion of our seared vegan oyster mushroom recipe on top.
You can also have this bread as part of a vegan charcuterie board with spiced onions and spreads like Lebanese hummus recipe, roasted bell pepper Muhammara, Roasted red pepper hummus, carrot top chimichurri sauce, and a green goddess dip.
The famous naturally vegan Catalonian Escalivada dish and pickled eggplants are great pairing options for your homemade bread loaf.
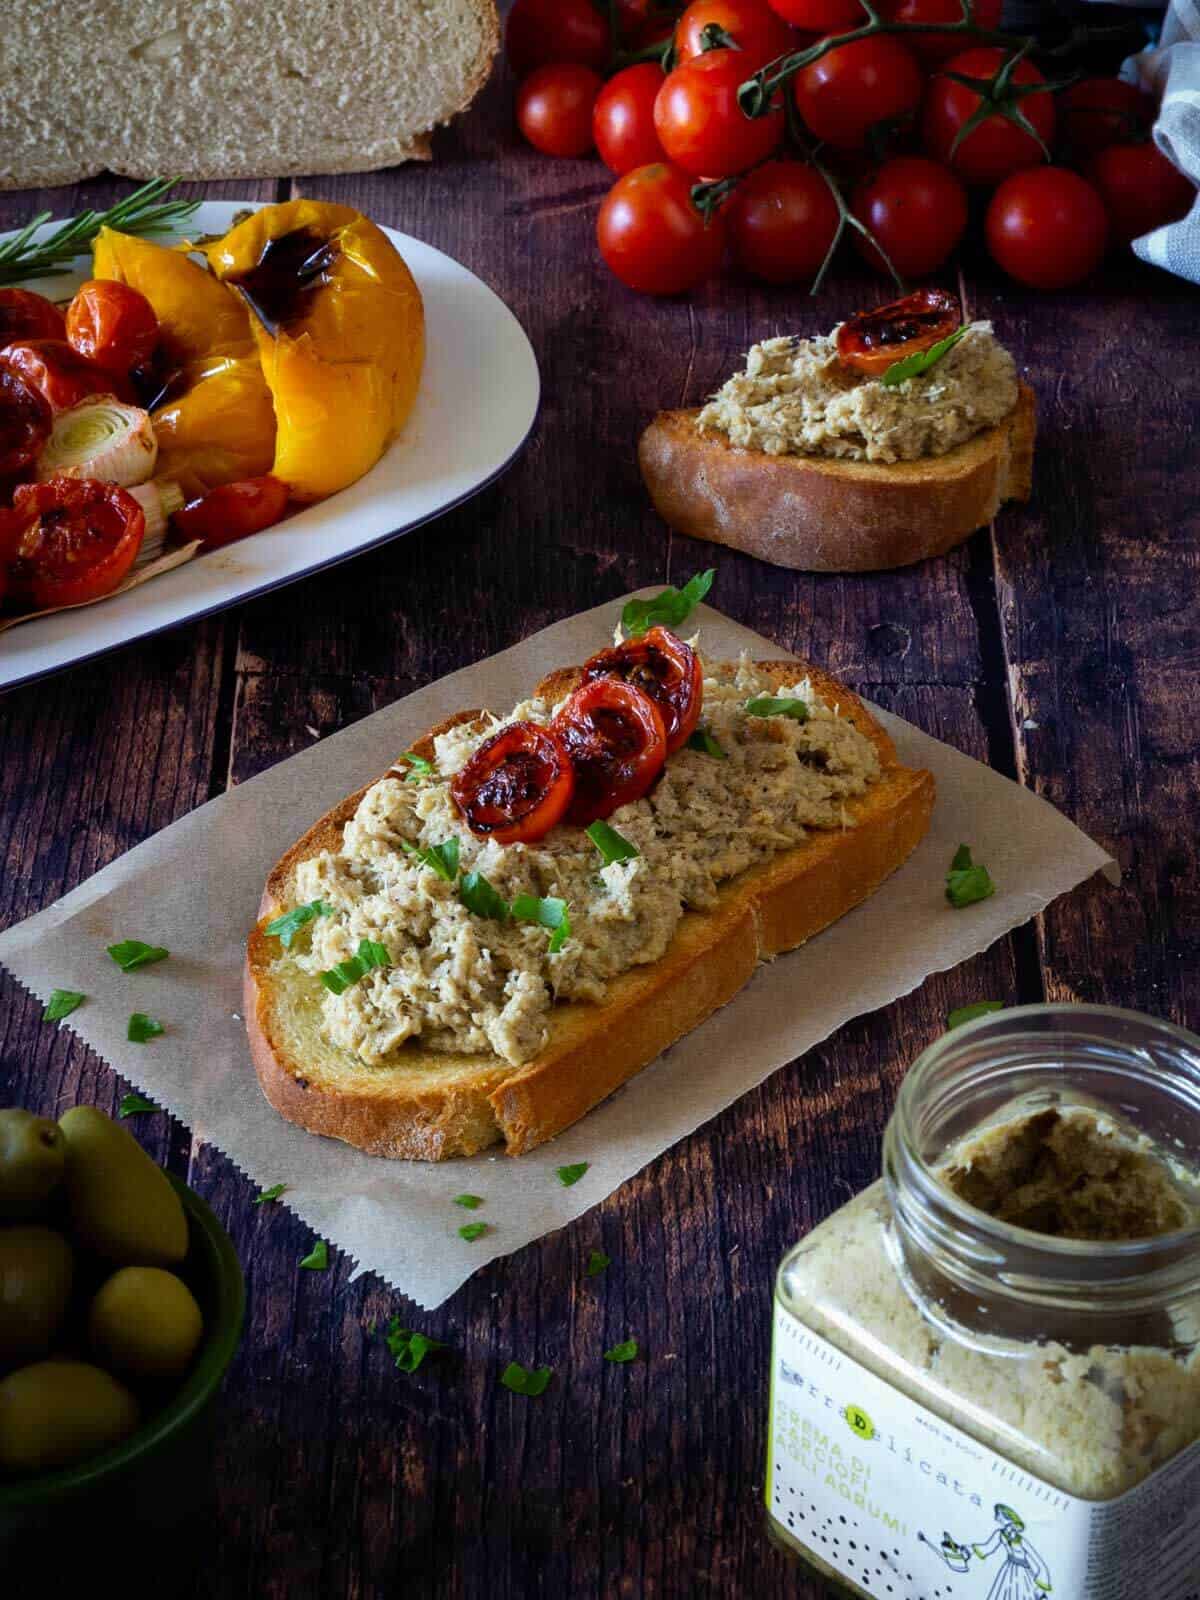
We also love using this Pagnotta bread to make bruschettas with artichokes spreads and charred cherry tomatoes or pair them with Roman-style artichokes.

With this flavor-packed but straightforward Italian eggplant stew, you can use this artisan bread cut in slices as a vegan appetizer as bruschetta, with Lebanese hummus recipe, vegan eggplant babaganoush spread, or the delicious roasted bell peppers dip.
Soups
As you enjoy the rustic charm of our artisan bread, consider pairing it with our mushroom soup without cream or Tuscan white bean soup. Why not? our Greek white bean soup for a comforting and hearty meal.
You can also enjoy a toast of this Central Italy traditional bread with a drizzle of good-quality extra-virgin olive oil. An excellent and simple treat!
🥡 Storage
You can store this yeast bread loaf for two days at room temperature or freeze it, either sliced or whole, in a bag or an airtight container.
To thaw, leave it in a refrigerator overnight or at room temperature overnight or place it in the microwave.
We like slicing this loaf and briefly toasting it in a skillet, oven, or electric toaster before consuming it, as the texture and consistency will be at their best.
💡 Notes on ingredients
Yeast
Brewer's yeast is often demonized. However, few people know these microorganisms have many beneficial effects on our body: hair, nails, skin, and metabolism.
Therefore, when we have little time and want fresh bread for lunch, I put this beautiful loaf to work in the morning. If we want a nice piece of bread for a Weekend's breakfast, we prepare it before bed.
Experiment as much as you can with different flours and add seeds. It is the only way to learn baking and understand your oven; follow the tricks I am giving you here, and it will be flawless!
We also love using loaves to make Bread Bowls (also known as Panne Cook, or Pan Bowl), taking some of the inside dough and filling it with any kind of stew.
Flour
What flour is used for bread in Italy?
The importance of flour.
The secret of good homemade bread is the choice of flour, which must be of excellent quality. Soft wheat is generally the most used, but alternatives are not lacking. And each has its own particular flavor and different nutritional characteristics.
White in color and chalky consistency, soft wheat flour is classified into type "00" (the most common), "0", "1", "2", and wholemeal.
Greater refining reduces the leavening times but also the nutritional contributions.
So, a Type "0" flour calls for a long fermentation period.
Then there are durum wheat flours, used above all for the preparation of pasta, but also for particular bread.
We use a Type "0" flour here because it is the traditional way to make this rustic peasant loaf, but it has a higher nutritional content.
❓ FAQ
Artisan bread is a term that refers to bread that is crafted rather than mass-produced. Baked in small batches rather than on a vast assembly line, artisan bread is often made by hand with traditional methods and high-quality ingredients. These breads don't contain preservatives, resulting in a fresher and more natural taste. The process of making artisan bread involves a longer fermentation period than commercial bread, which helps to develop a more complex flavor. The term "artisan" signifies the skill, time, and craft that goes into creating each loaf.
No, it is not, as Pagnotta bread can be made with instant yeast, but you can make a pagnotta with sourdoughs starter or even a mix of rapid yeast and sourdough starter.
I love playing with yeasts, and I love the result I have gotten, replacing one-third of the suggested rapid yeast with a tablespoon of my sourdough starter diluted in the same rapid yeast mix.
French and Italian bread, while both delicious, have distinct characteristics that set them apart.
French bread, as governed by French bread law. This law mandates that traditional baguettes must be crafted on-site where they're sold, and are permitted to contain only four ingredients: wheat flour, water, yeast, and salt. The use of additives, preservatives, or freezing techniques is strictly prohibited. As a result of these stipulations, baguettes maintain a fresh, authentic taste, but also have a relatively short shelf-life, typically going stale within a day.
The most iconic French bread is the baguette, characterized by its long, thin shape and crispy crust. French bread tends to have a light, airy interior with large holes, known as the "crumb," and a crispy, thin crust. It's typically baked in steam-injected ovens to achieve that signature crust.
On the other hand, Italian bread has a bit more variety in ingredients and shapes. While it also uses the basic ingredients of flour, yeast, water, and salt, many Italian bread recipes also include olive oil or milk, which gives the bread a softer texture and richer flavor. Italian breads, like Ciabatta and Pagnotta, are often round or somewhat flat and have a denser crumb with smaller holes than French bread. The crust of Italian bread is generally thicker and chewier than that of French bread.
🍞 More dough and Italian bread recipes
Curious to learn more about kneading and doughs? Check our:
Italian Rosemary Focaccia Bread, with a version with cherry tomatoes
Argentinean Lentil-based vegan empanadas with homemade Vegan Empanadas Dough.
Vegan bread buns: perfect for your end-of-year holiday gatherings.
This recipe also works for pizza crusts (check our Basic Pizza recipe and the Marinara Pizza recipe for more Italian dough goodness ); after all, it is Italian! 🙂
⭐ If you try this recipe, let us know! 💬 Leave a comment, rate it, and don't forget to tag us @ourplantbasedworld on Instagram. Cheers!
🎥 Video

📋 Recipe
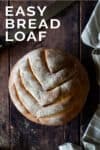
Italian Artisan Bread (Easy Homemade Rustic Pagnotta Bread)
Equipment
Ingredients
- 17 ½ ounces flour 0 or All-purpose flour plus some to adjust and dust the working table
- 9 ½ fluid ounces water lukewarm
- 4 ½ teaspoons brewer’s yeast (dry yeast)
- 2 ¼ teaspoons brown sugar or powdered barley malt, or molasses
- 2 ½ teaspoons salt
To oil the baking tray
- 1 teaspoon olive oil extra virgin
Directions
- Dissolve the yeast in warm water and the sugar (you have to be very careful not to overheat it, or it may kill the microorganisms). Let it rest for 5 minutes.
- In a big bowl or kitchen table, mix the flour with the yeast mixture and knead roughly with your hands, stretching holding one tip of the dough. Slam the dough ball on the table every couple of minutes to activate the gluten. Incorporate the salt, and knead well for 10 minutes.
- First proofing. Oil the surface of the dough ball, make a cross with a knife and cover with plastic wrap. Reserve in a warm place in your kitchen or close to a heater. Let the dough be proof for 1 hour.
- Second proof and shaping. After the time has elapsed, stretch the edges of the dough first outwards and fold inwards to the center. Put the dough upside down and give the ball a round shape pushing the downer parts of the ball with your fingertips. Cover with the same oiled plastic wrap and let the dough proof for another 30 minutes. After 15 minutes, Pre-heat the oven to 480 ºF or 250 ºC.
- Prepare the dough for baking. Place the dough on a round or edgeless baking tray with parchment paper. Sprinkle some flour on top with your fingers and score the dough with the tip of a sharp knife. You only need to cut the surface. Do not go too deep.
- Adjust the temperature. Decrease the oven temperature to 445º F (230 °C). Place an oven-resistant container with 1 cup of water on the oven floor.
- Bake. Put the baking pan in the oven and bake for 25-30 minutes (until the bread looks golden brown).
- Allow the bread loaf to rest about 10 minutes before cutting it.
Video
Notes
Nutrition Facts
Nutritional Disclaimer
The information shown is an estimate provided by an online nutrition calculator. It should not be considered a substitute for a professional nutritionist's advice. See our full Nutritional Disclosure here.
Affiliate Disclaimer
Please note that some of the links here are affiliate links, and I will earn a commission if you purchase through those links. I recommend all of the products listed because they are companies I have found helpful and trustworthy.

Jen says
A beautiful loaf of bread. I have never used brewers yeast before.
Gus says
Brewers yeast is amazing, we totally encourage you to try it!
Amy says
Wow love how crusty this loaf looks, what a dream!
Sara Welch says
So glad I gave this a try! Was easy and delicious and turned out perfectly light and fluffy!
Gus says
Thank you for trying our product, Sara! We're so glad to hear that it turned out well and was easy to use. We hope you'll try one of our other recipes soon too!
Andrea says
Oh wow, this bread looks incredible. Perfect crispy outer layer and soft inside. Can't wait to make a loaf.
Irina says
WOW! Me too; I love to knead the dough myself! Love the recipe and will definitely try to make it. It will be my first-time bread-making... I hope to get the same result as yours. 🙂
Gus says
Hi Irina, thank you for the review. I'm so glad to hear that you enjoy cooking and baking! The recipe is very easy to follow and it should be a lot of fun for your first time making bread. Let us know how it turns out!
Toni says
Such an amazing loaf bread!! It turned out so good my whole family loved it!
Gus says
I am glad you guys liked it! 🙂
Katherine says
Got to love a nice simple basic bread recipe! So good.
Lauren says
I'm not a very talented baked but this turned out great! Will be a regular in the rotation
Claudia Lamascolo says
Great recipe, easy to follow we loved it!
Natalie says
What a beautiful homemade bread. Looks fantastic! Just look at that crust. Yum!
Dannii says
You can't beat homemade bread. I bet your kitchen smelled amazing.
Mahy says
I just can't believe how easy this recipe is. Definitely the recipe to keep handy at all times!
Katherine says
This looks like a perfect easy bread recipe. And everyone needs one of those to hand!
Gus says
I know! It is super hassle-free! 🙂
Beth says
This is great! I love your idea to use this recipe for pizza and I'm sure our next Pizza Night it going to be amazing!
Taly says
Hace poco tiempo empecé a hacer mi propio pan también, así que me alegra haberme encontrado con esta receta tan fácil de hacer para poder preparar otras variedades!
Saludos!!
hitandrun1964 says
Oh, YUM.